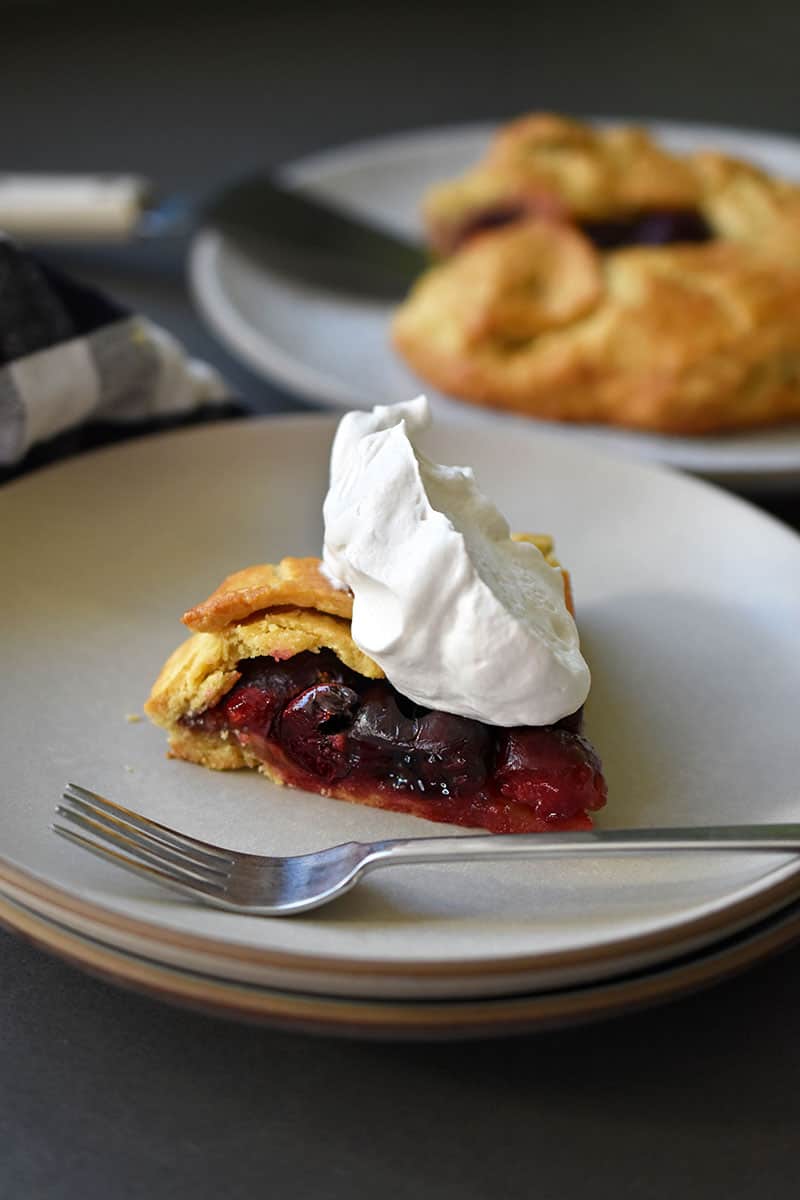
This cherry galette, or free-form cherry pie, has a buttery and crisp crust and a perfect balance of sweet and tart in the filling! No one will know that this fabulous fruit dessert is paleo, gluten-free, and nut-free!
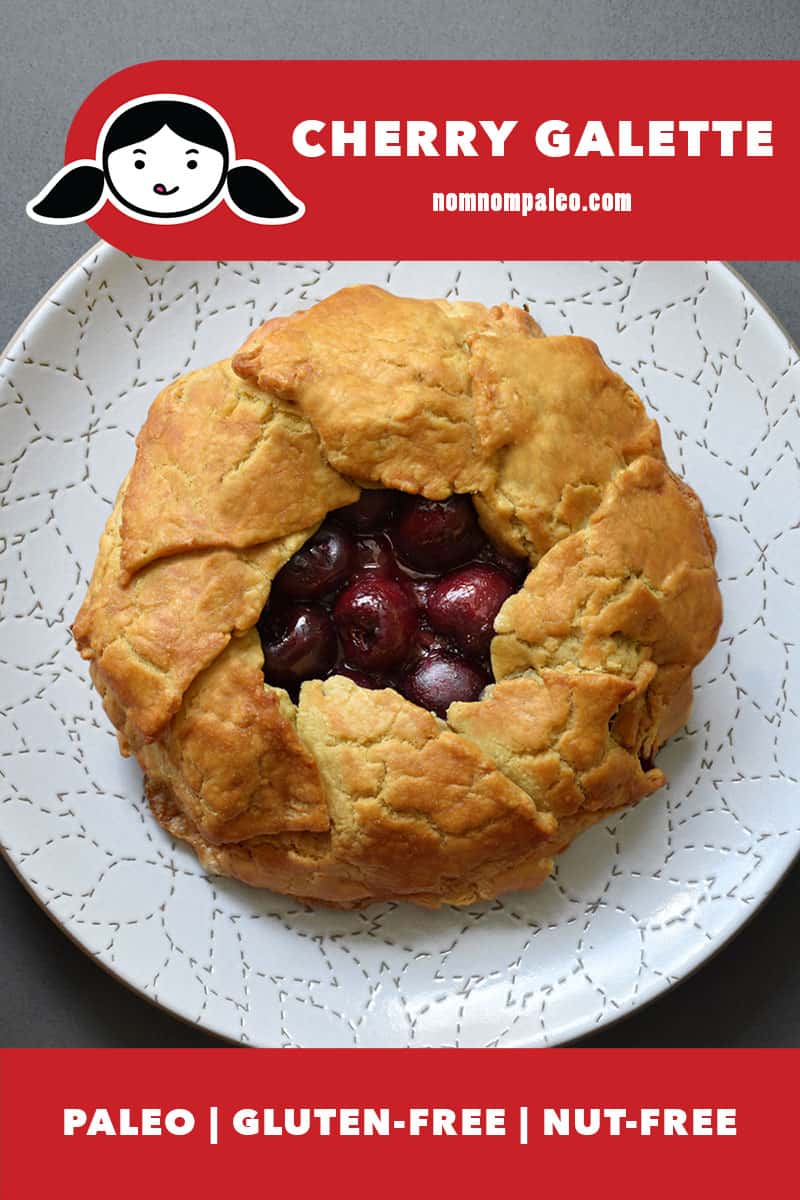
Table of Contents
- The Perfect Dessert for Cherry Season!
- Tips for a successful paleo galette
- Don’t change the ingredients for the crust
- Keep things cold!
- Don’t get frustrated if the dough cracks!
- Can you use other fruit for the filling?
- Can you make the dough ahead of time?
- Ingredients
- How to make a paleo and gluten free cherry galette
- Make the paleo pie dough
- Roll out the dough
- Make the cherry filling
- Assemble the cherry galette
- Bake the cherry galette
- Looking for other paleo baked goods? Here are some my faves:
- PRINTER-FRIENDLY RECIPE CARD
- Cherry Galette (Paleo, Gluten Free, Nut Free) Recipe
The Perfect Dessert for Cherry Season!
I eagerly look forward to fresh cherries returning to the farmers’ markets in Northern California at the end of May and early June because they’re my favorite fruit—especially the sweet and firm Bing variety. I always end up buying more than I can eat because I’m greedy and I know that cherry season is fleeting. When I’m tired of eating them out of hand, I throw them into a galette or crostata—the Italian version of a rustic free-form pie. Galettes are great because you get the best parts of the pie—the buttery crust and sticky filling—without the hassle of assembling a lattice on top or blind-baking the crust.
Tips for a successful paleo galette
I’m not gonna lie—this paleo, nut-free, and gluten-free pie dough can be finicky. But if you follow my instructions carefully, you’ll end up with a delicious galette filled with a just-sweet-enough jammy filling surrounded by a fantastic buttery crust that doesn’t fall apart or get soggy. Although practice makes perfect, here are some tips that will help novice paleo pie bakers!
Don’t change the ingredients for the crust
I know it might be tempting to substitute one of the flours in the dough with another gluten-free flour that you have in your pantry (e.g. coconut flour, almond flour, etc.), but it won’t work the same way. If there is a substitution that works, I will list it in the recipe card. Otherwise, substitute ingredients at your risk. Please report back in the comments section if your experiment is successful so others can benefit from your testing!
Keep things cold!
Make sure you chill the ghee ahead of time and pulse it with the dry ingredients and egg in the food processor to minimize any melting. Also, add some ice cubes to the water to chill it before adding it to the dough. If the ghee gets too soft, it’ll incorporate too much with the flour, and the resulting dough will be very crumbly.
Don’t get frustrated if the dough cracks!
The whole point of baking a galette is to make a fuss-free homey dessert—don’t fret about creating a picture-perfect pie with fluted edges and an intricately woven lattice top. Yes, it can be frustrating if the galette dough starts to crack as you are fold the edges over the fruit, but don’t freak out! If it cracks because the dough is too stiff, simply dab on some water and seal up the edges. Conversely, if your dough is too warm and pliable, just pop it in the fridge to stiffen up. It’ll turn out okay!
Can you use other fruit for the filling?
Yes! I’ve made galettes with blueberries, blackberries, strawberries, sliced peaches, and apples with great results. FYI: soft fruit and sliced fruit (e.g. peaches, strawberries, etc.) will ooze more juice and lead to a runnier filling—but it will still taste delicious!
Can you make the dough ahead of time?
Not really. When you chill the dough too long or freeze it, the texture can get very stiff and crumbly. If I want to plan ahead, I simply bake the galette early in the day and it will taste great at room temperature many hours later. Like all baked goods, this galette tastes best the same day you bake it. If you have leftover galette, store it in the fridge for up to 4 days.
Ingredients
Dough
- Cassava flour
- Tapioca starch
- Maple sugar or coconut sugar
- Diamond Crystal kosher salt
- Eggs
- Chilled ghee (palm shortening or coconut oil will also work)
- Cold water
Filling
- Fresh cherries, pitted
- Lemon juice
- Maple sugar or coconut sugar
- Tapioca starch
- Diamond Crystal kosher salt
How to make a paleo and gluten free cherry galette
Make the paleo pie dough
Add the cassava flour, tapioca starch, sugar, salt, one egg, and ghee to the work bowl of a food processor.
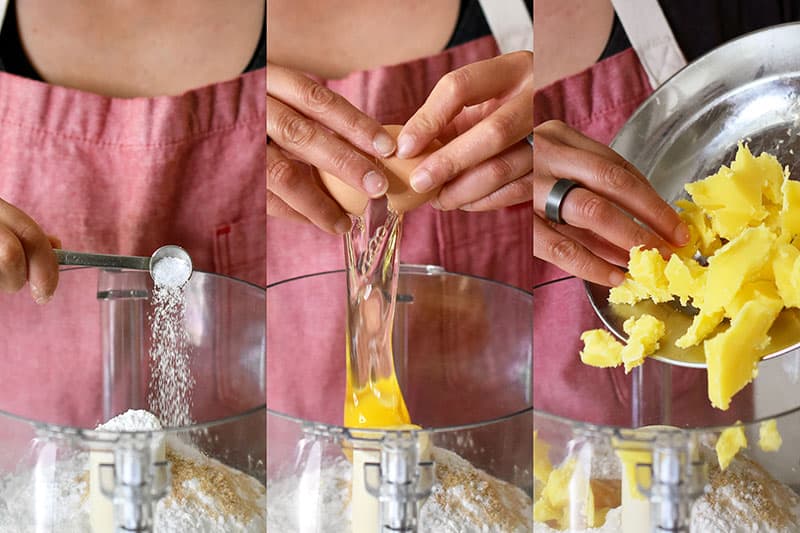
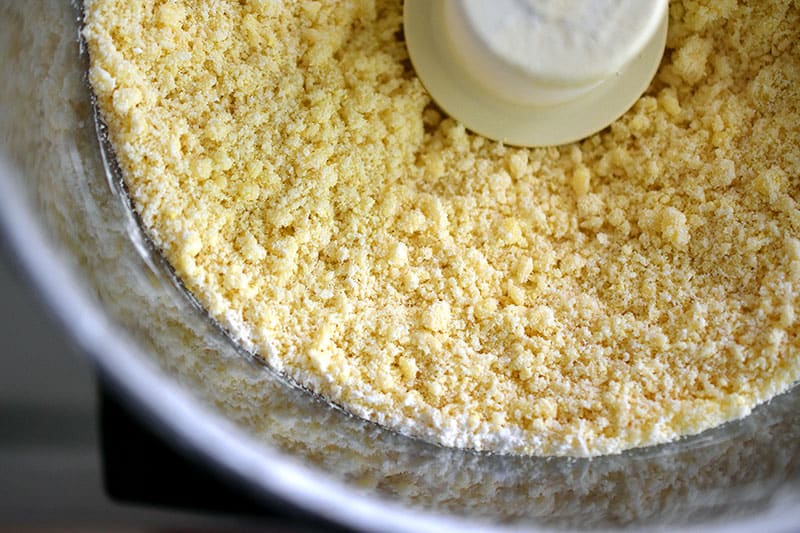
Pulse until the dry ingredients resemble coarse crumbs with no lumps bigger than a pea. (No food processor? Whisk the dry ingredients together first in a large bowl. Then, add the egg and cut in the chilled ghee with a pastry cutter or two forks.)
Transfer the contents from the food processor to a large mixing bowl and drizzle in some cold water, a little at a time…
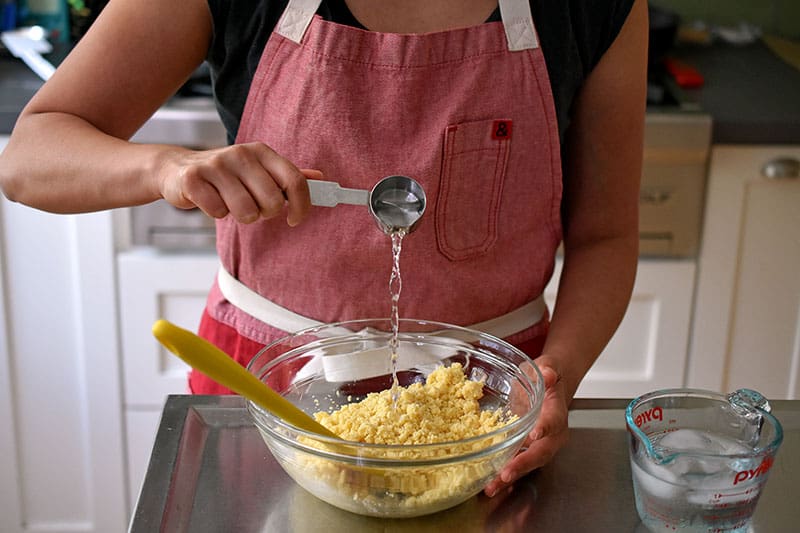
…folding it in with a rubber spatula until a non-sticky dough forms.

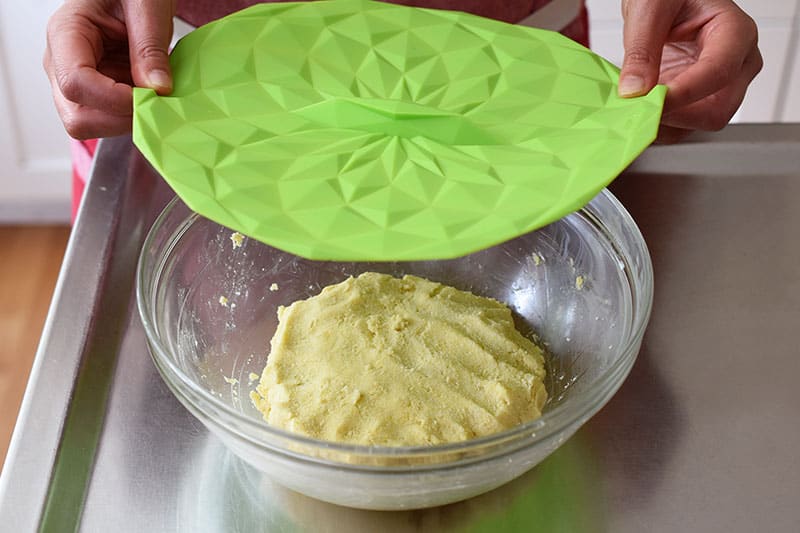
Smush the dough into a flat puck, cover the bowl, and refrigerate for about 30 minutes to chill the dough.
Roll out the dough
While the dough is chilling, heat the oven to 400°F with the rack in the middle.
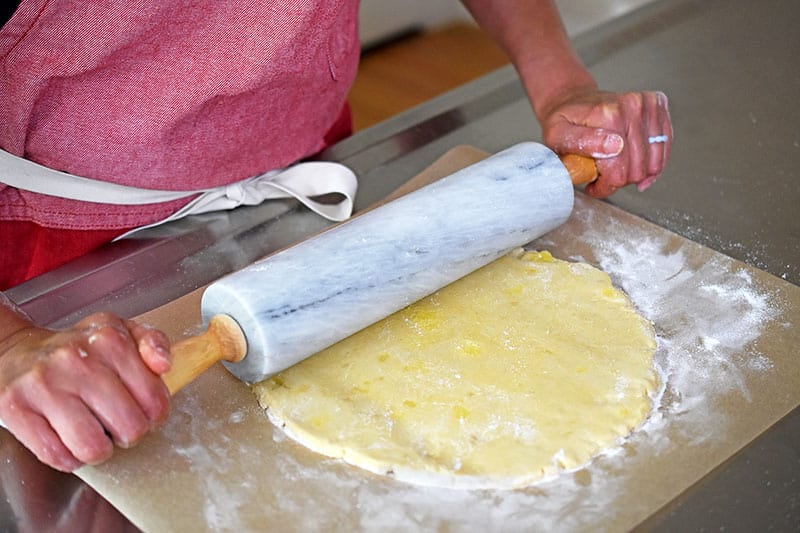
Place a large piece of parchment paper on a work surface and sprinkle cassava flour all over it. Place the chilled dough on top and sprinkle additional cassava flour on top.

Roll the dough into a uniform circle that’s about ¼-inch thick and 12-inches in diameter. If the dough cracks as your roll it out, don’t worry! Just smush the dough back together again and add a little bit of water if it feels dry.
Transfer the parchment paper and the rolled dough onto a rimmed baking sheet. Pop the dough in the fridge if it’s too pliable.

Make the cherry filling
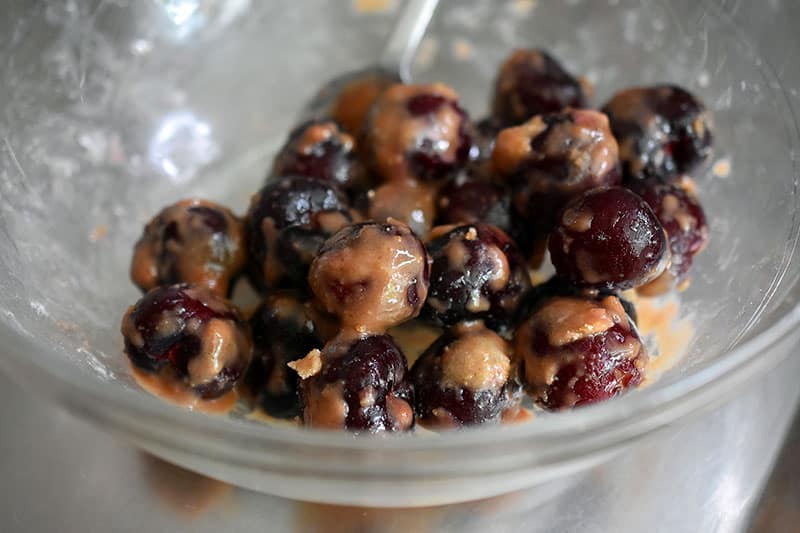
In a large bowl, toss together the cherries, lemon juice, sugar, tapioca starch, and salt.
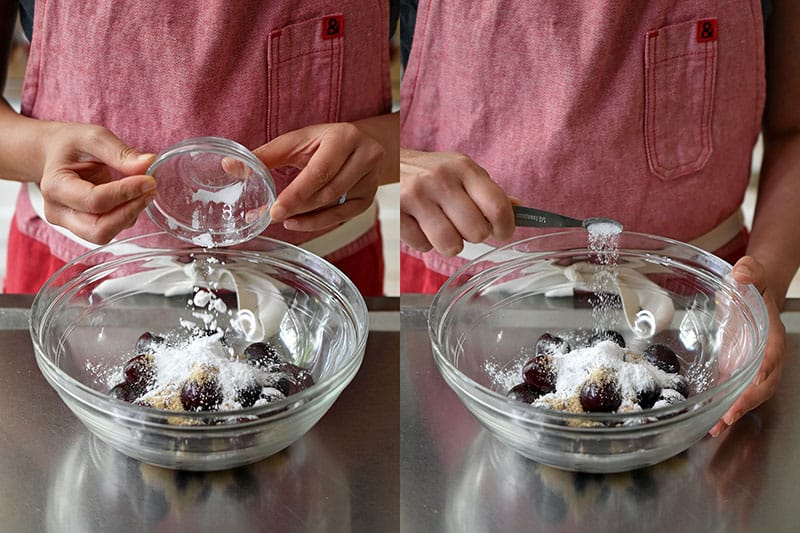
Mix until well combined.
Assemble the cherry galette
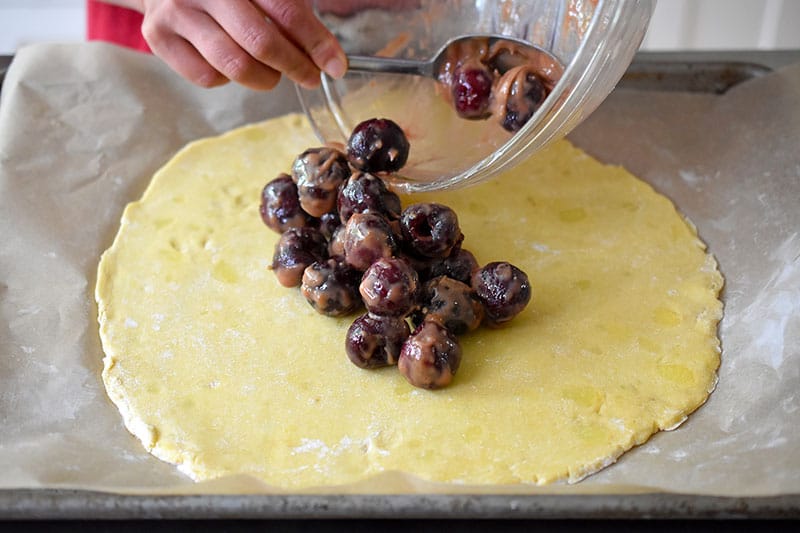
Plop cherries in the center of the dough in a single layer, leaving a 2-inch border around the edge.
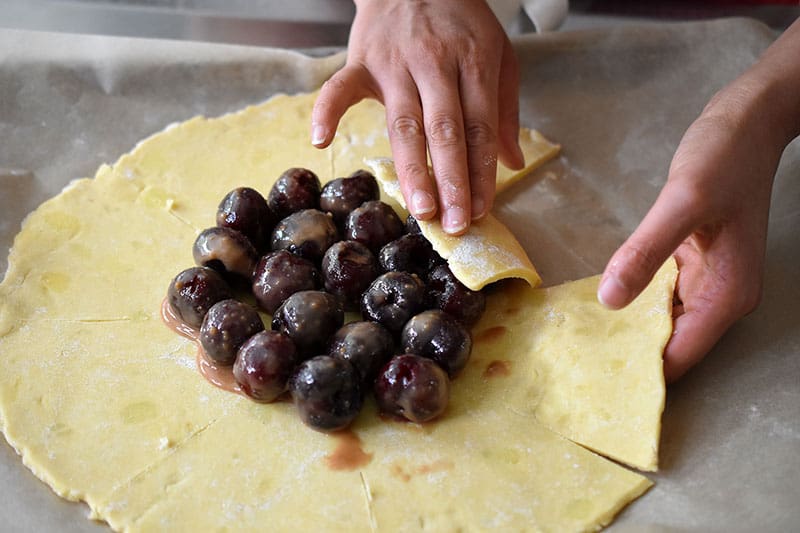
Using a paring knife, cut eight evenly spaced slits from the edge of the dough to the cherries.

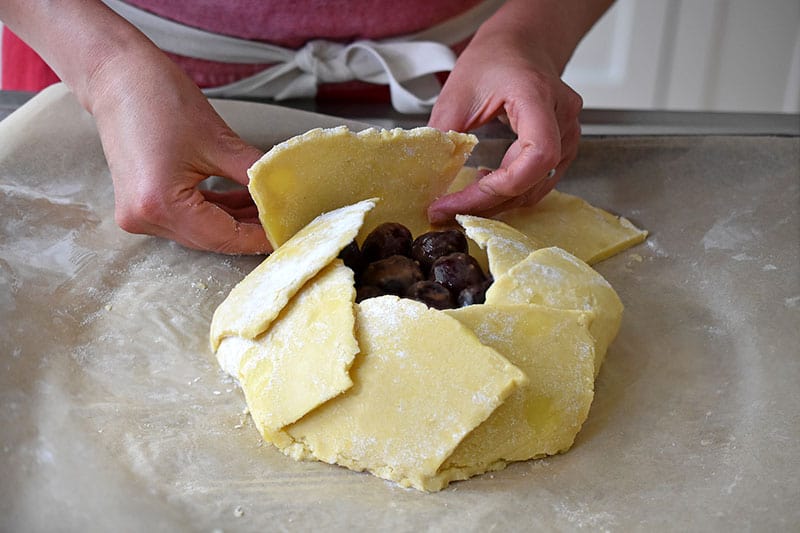
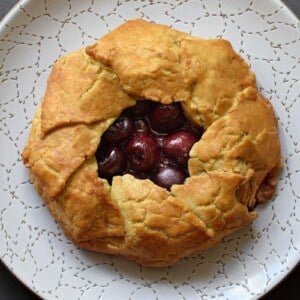
Carefully fold the dough segment flaps up and over the cherries, leaving the cherries in the center of the galette exposed.
If the edges or other parts of the dough crack, you can dab a little water on top to help seal them up. Remind yourself: THIS IS WHAT RUSTIC LOOKS LIKE!
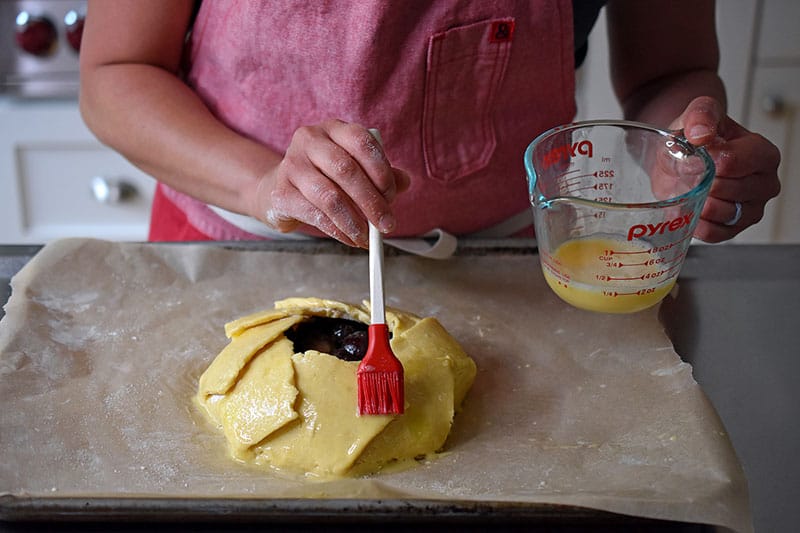
Whisk the remaining egg in a small bowl and brush the egg wash over the top of the crust.
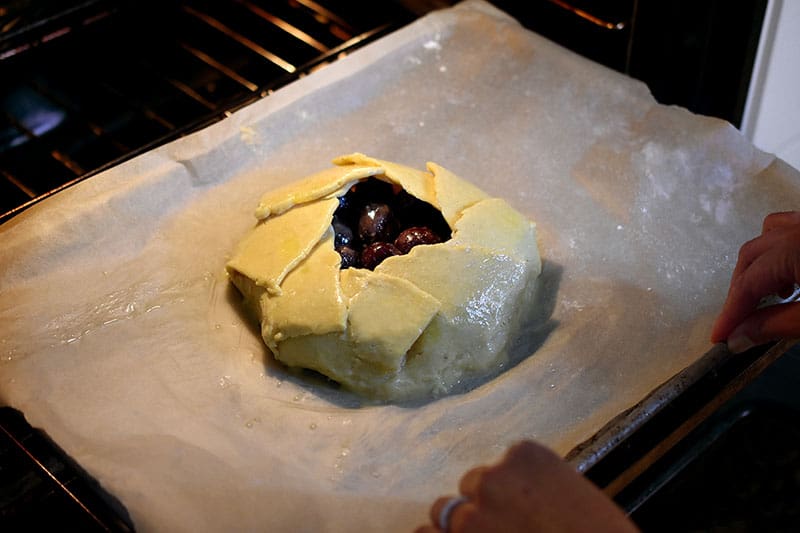
Bake the cherry galette
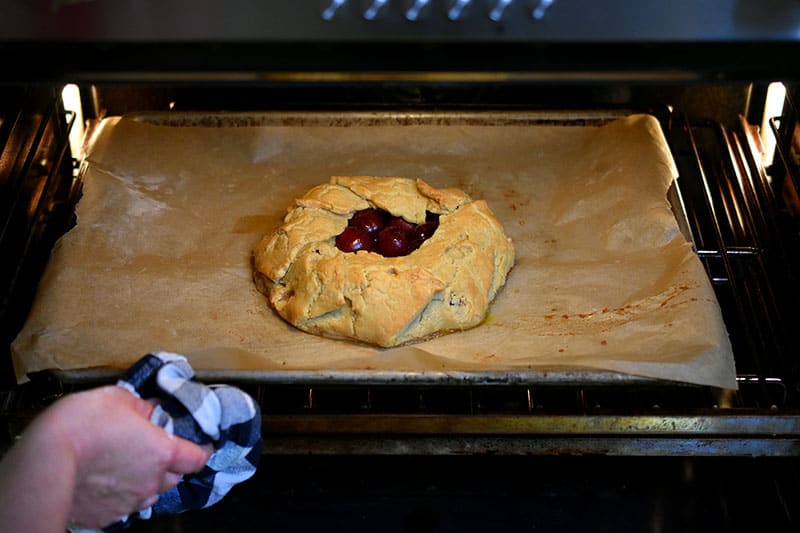
Pop the galette in the oven and bake for 30 to 35 minutes, or until the crust is golden brown and the filling is bubbly.
Rotate the galette at the halfway point to ensure even baking.
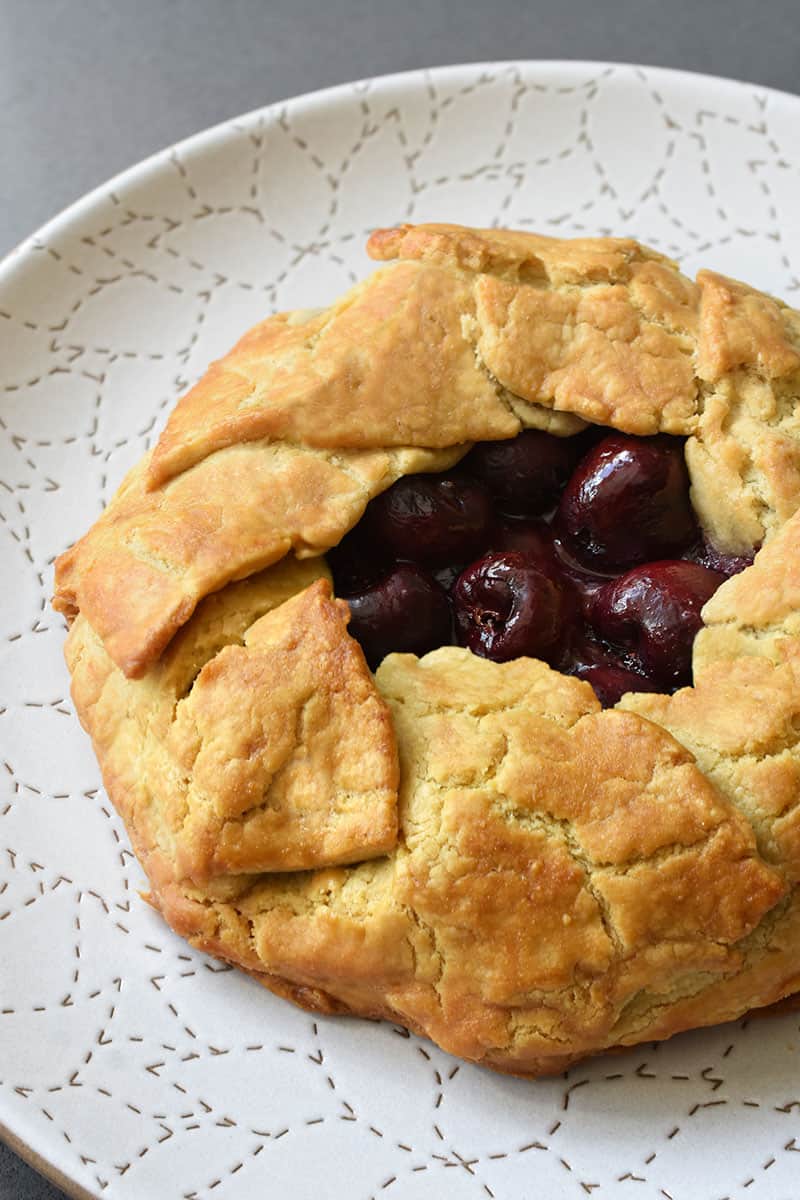
Transfer the finished galette onto a wire rack to cool.
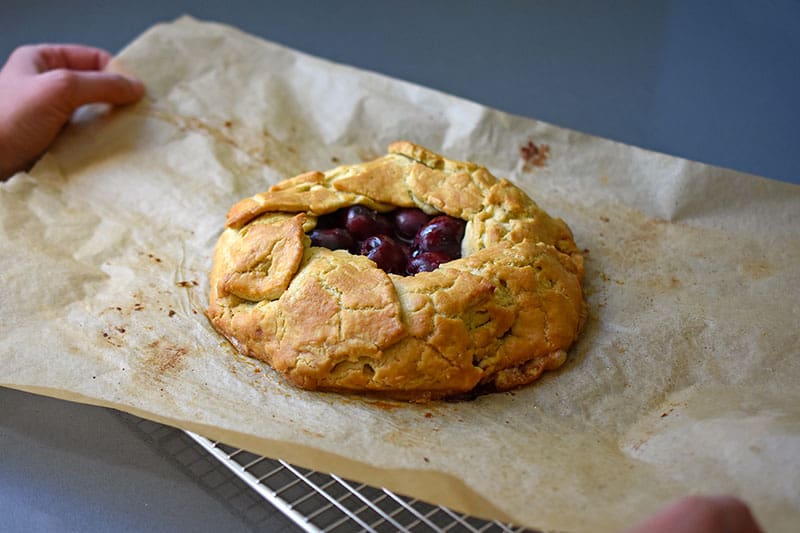
Slice it up, and if desired, top with whipped coconut cream. Dig in!
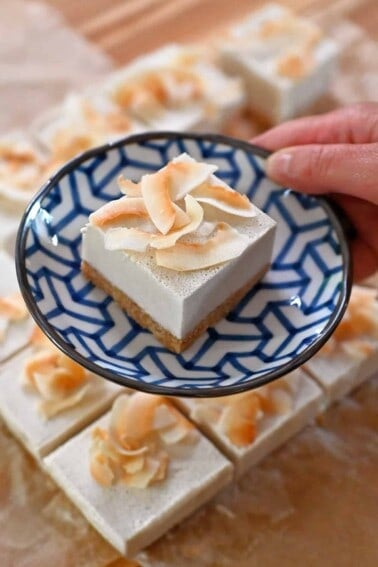
Looking for other paleo baked goods? Here are some my faves:
Looking for more recipe ideas? Head on over to my Recipe Index. You’ll also find exclusive recipes in my cookbooks, Nom Nom Paleo: Food for Humans (Andrews McMeel Publishing 2013), Ready or Not! (Andrews McMeel Publishing 2017), and Nom Nom Paleo: Let’s Go! (Andrews McMeel Publishing 2022)
PRINTER-FRIENDLY RECIPE CARD
Cherry Galette (Paleo, Gluten Free, Nut Free)
Ingredients
Dough
- 1 cup cassava flour plus more as needed for rolling the dough
- ¼ cup tapioca starch or arrowroot powder
- 1½ teaspoons maple sugar or coconut sugar
- ¼ teaspoon Diamond Crystal kosher salt
- 2 large eggs divided
- ½ cup ghee chilled and coarsely chopped (palm shortening or coconut oil will also work)
- ¼ cup ice water
Filling
- ½ pound sweet cherries pitted
- 1½ teaspoons lemon juice
- ¼ cup maple sugar or coconut sugar
- 1 tablespoon tapioca starch or arrowroot powder (the filling will have a looser gel)
- ⅛ teaspoon Diamond Crystal kosher salt
Instructions
Make The Dough!
- Add the cassava flour, tapioca starch, sugar, salt, one egg, and ghee to the work bowl of a food processor. Pulse until the dry ingredients resemble coarse crumbs with no lumps bigger than a pea. (No food processor? Check out the Notes section below!)
- Transfer the contents from the food processor to a large mixing bowl and drizzle in some cold water, a little at a time, folding it in with a rubber spatula until a non-sticky dough forms.
- Smush the dough into a flat puck, cover the bowl, and refrigerate for about 30 minutes to chill the dough. While the dough is chilling, heat the oven to 400°F with the rack in the middle.
- Place a large piece of parchment paper on a work surface and sprinkle cassava flour all over it. Place the chilled dough on top and sprinkle additional cassava flour on top.
- Roll the dough into a uniform circle that’s about ¼-inch thick and 12-inches in diameter. If the dough cracks as your roll it out, don’t worry! Just smush the dough back together again and add a little bit of water if it feels dry.
- Transfer the parchment paper and the rolled dough onto a rimmed baking sheet. Pop the dough in the fridge if it’s too pliable.
Make The Filling!
- In a large bowl, toss together the cherries, lemon juice, sugar, tapioca starch, and salt. Mix until well combined.
Assemble the Galette!
- Plop cherries in the center of the dough in a single layer, leaving a 2-inch border around the edge.
- Using a paring knife, cut eight evenly spaced slits from the edge of the dough to the cherries.
- Carefully fold the dough segment flaps up and over the cherries, leaving the cherries in the center of the galette exposed.
- If the edges or other parts of the dough crack, you can dab a little water on top to help seal them up. Remind yourself: THIS IS WHAT RUSTIC LOOKS LIKE!
- Whisk the remaining egg in a small bowl and brush the egg wash over the top of the crust.
- Pop the galette in the oven and bake for 30 to 35 minutes, or until the crust is golden brown and the filling is bubbly. Rotate the galette at the halfway point to ensure even baking.
- Transfer the finished galette onto a wire rack to cool.
- Slice it up, and if desired, top with whipped coconut cream. Dig in!
Video
Notes
- No food processor? Whisk the dry ingredients together first in a large bowl. Then, add the egg and cut in the chilled ghee with a pastry cutter or two forks. Continue with the instructions above at step 2.
- I like to measure all the dry ingredients on a scale for accuracy. Click on the metric button to get the ingredients in grams.
Nutrition
Nutrition information is automatically calculated, so should only be used as an approximation.


One of my favorites. I always mess up the crust but a messed up crust does not change the taste lol
I followed this to a T, twice. It’s all collapsed and looks like hell. It’s for a birthday and I’m a bit embarrassed about it…
I can say it tasted good… because I could have a bite of the first failed attempt…
But if this needs to look like it didn’t come from a dumpster… choose something else.
I’m sorry this recipe didn’t turn out for you! Did you use Otto’s cassava flour?
Great recipe. I have made this recipe with cherries the past few summers. I’ve used just blueberries too. Both come out delicious. Thank you!