This simple and fool-proof oven roasted whole chicken recipe is perfect for weeknight dinners!
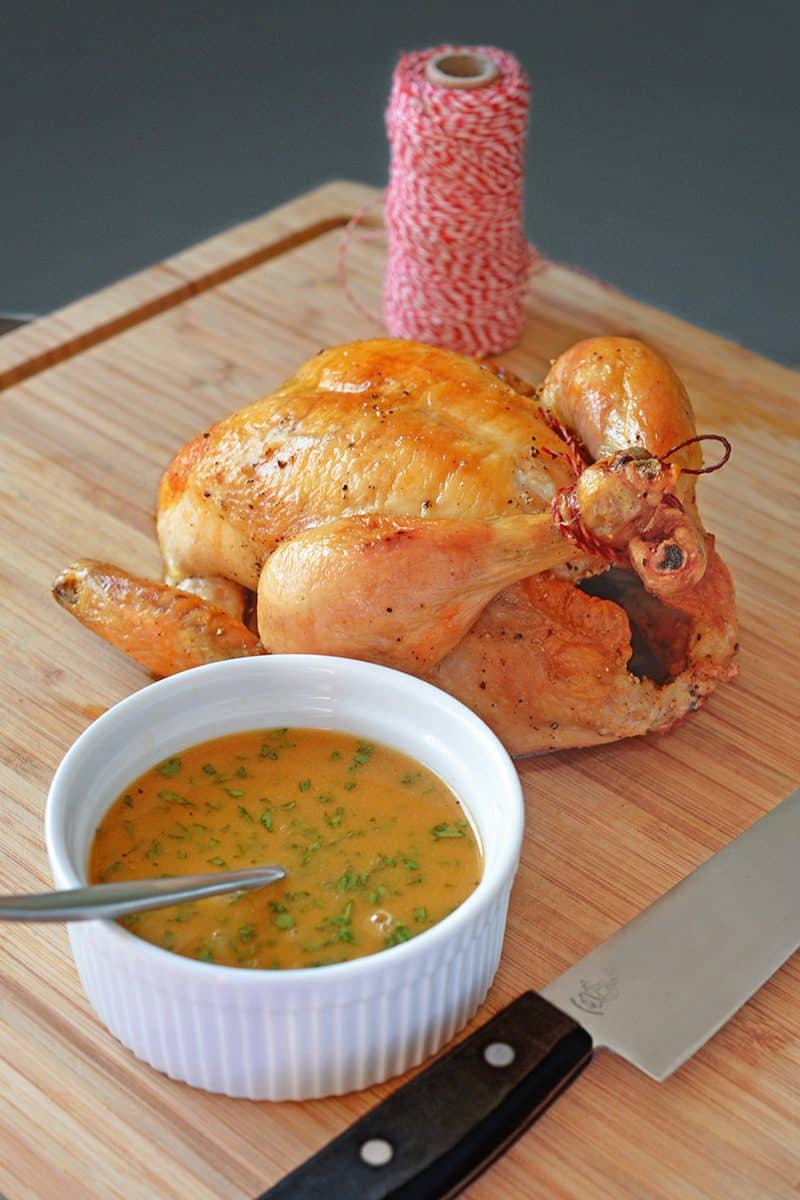
Table of Contents
A simple oven roasted whole chicken recipe!
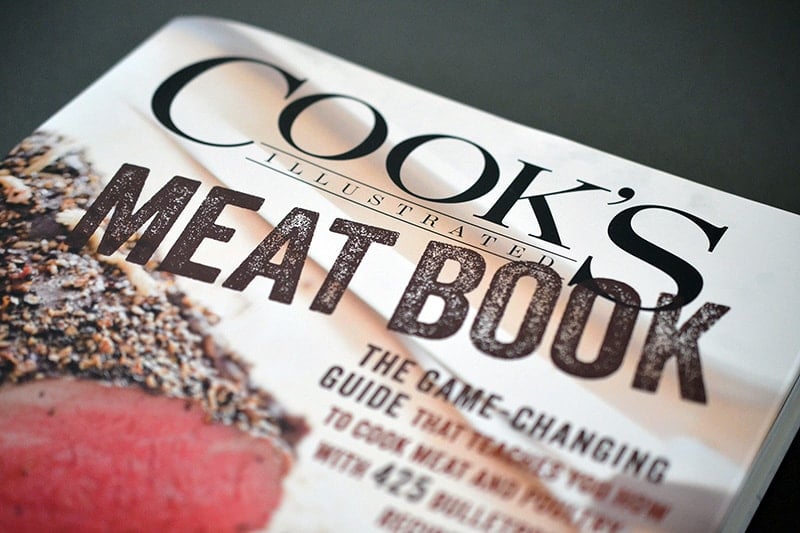
Who says chicken-roasting is strictly a weekend affair? Survey says…NOBODY—especially with this simple and satisfying Weeknight Roast Chicken recipe. It comes straight out of the newest cookbook from the food nerds at America’s Test Kitchen, The Cook’s Illustrated Meat Book: The Game-Changing Guide that Teaches You How to Cook Meat and Poultry with 425 Bulletproof Recipes.
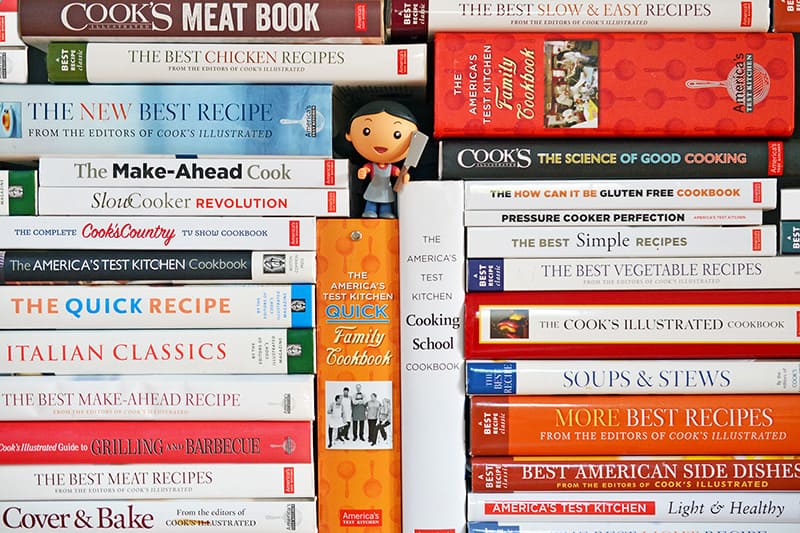
This carnivore-pleasing tome isn’t the first ATK book in my collection. Over the years, I’ve amassed over 30 of their books. (I’ve lost count, actually.) I don’t like to think of myself as a hoarder; I just can’t resist the lure of guaranteed-awesome recipes that have been tested dozens of times. The crew at ATK’s done all the tweaking and testing so that you and I can follow their recipes knowing that even dummies like us can’t screw things up too badly.
Another winner, winner chicken dinner from ATK!
ATK’s dishes are always solid, but its recipe for Weeknight Roast Chicken is a real game-changer. No fancy ingredients or techniques are needed; just grab a whole chicken, salt, pepper, some fat, a piece of string, and a meat thermometer, and PRESTO-CHANGE-O!—in less than 5 minutes, the chicken’ll be ready for the oven.
Best of all, The Meat Book reveals the secret to moist chicken: Turn off the oven midway through the cooking time.

I’ve tried it. It works. It’s genius.
Ingredients
For the chicken
- 1 (3½- to 4-pound) whole chicken, giblets discarded
- Diamond Crystal brand kosher salt
- Freshly ground black pepper
- Melted ghee (or fat of choice, like olive oil or avocado oil)
For the optional Tarragon-Lemon Pan Sauce
- Shallot: Feel free to substitute an onion or leek in place of the shallot!
- Chicken broth or bone broth
- Dijon mustard
- Unsalted butter (or cold ghee for folks doing a Whole30)
- Minced fresh tarragon: Feel free to substitute other herbs, like thyme or rosemary!
- Freshly lemon juice
- Freshly ground black pepper
How to make an oven roasted whole chicken
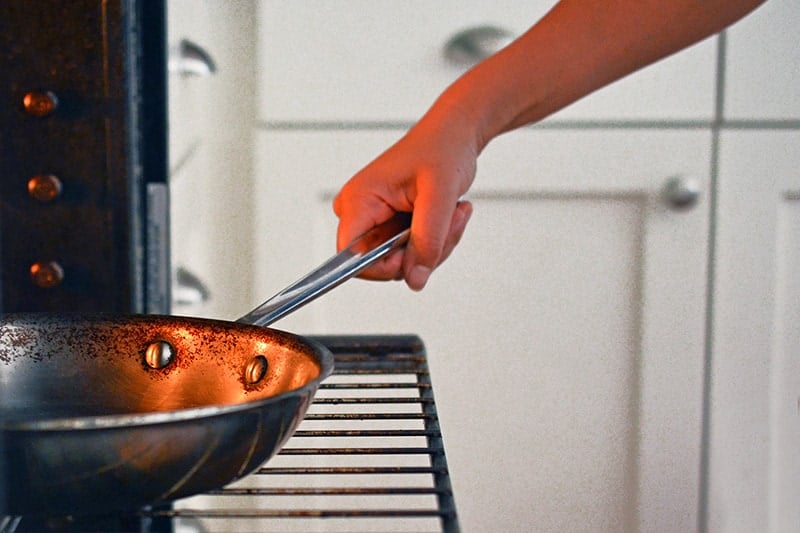
Position your oven rack in the middle position, place a 12-inch oven-safe skillet on it, shut the oven door, and crank the heat up to 450°F.
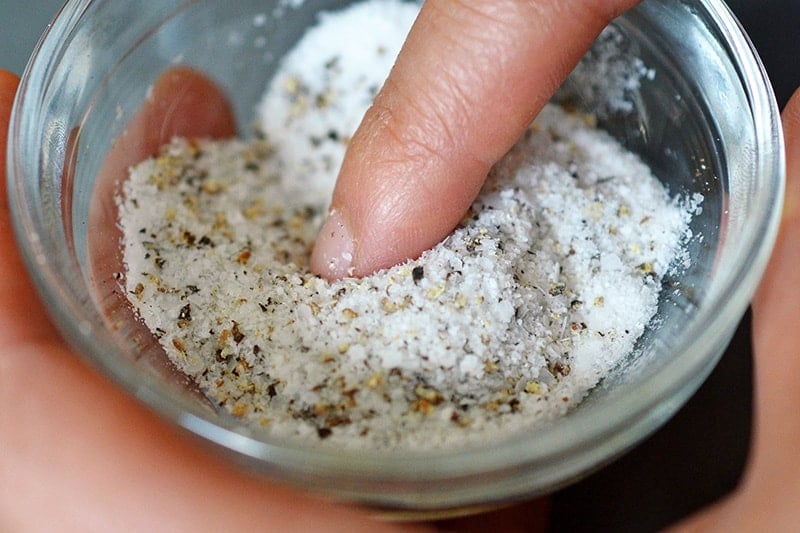
Mix together the salt and pepper in a small bowl, and grab the melted ghee.
Pat the chicken dry with paper towels.
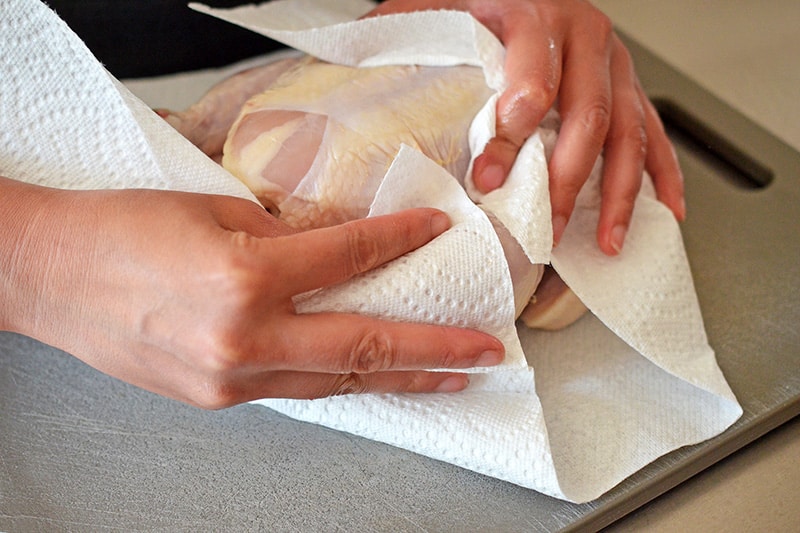
Really. Don’t skip this part. No one likes handling a slick chicken.
Pull off any extra fat around the open cavity, and trim away any extraneous skin.
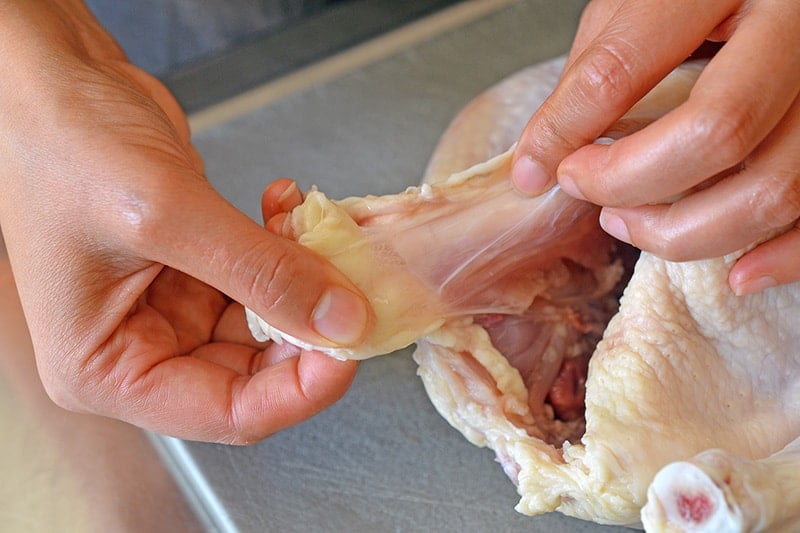
(If you happen to spot any remaining feathers, just pluck ’em out. Don’t get squeamish on me.)
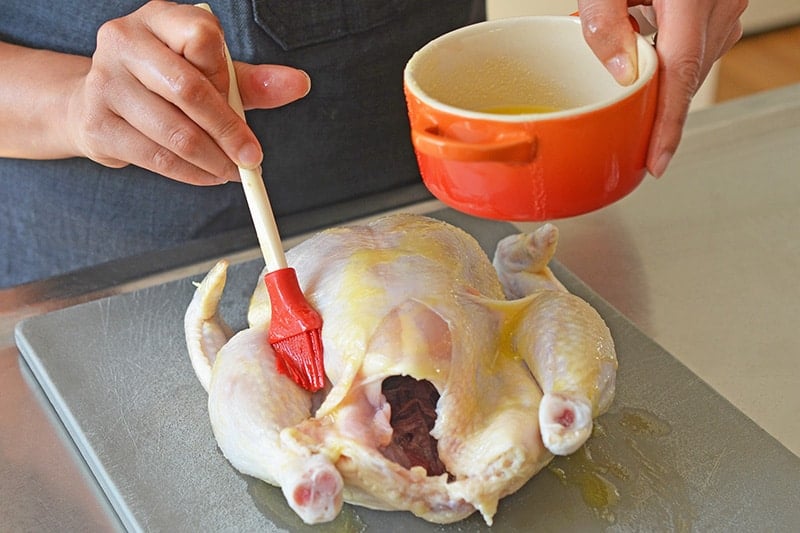
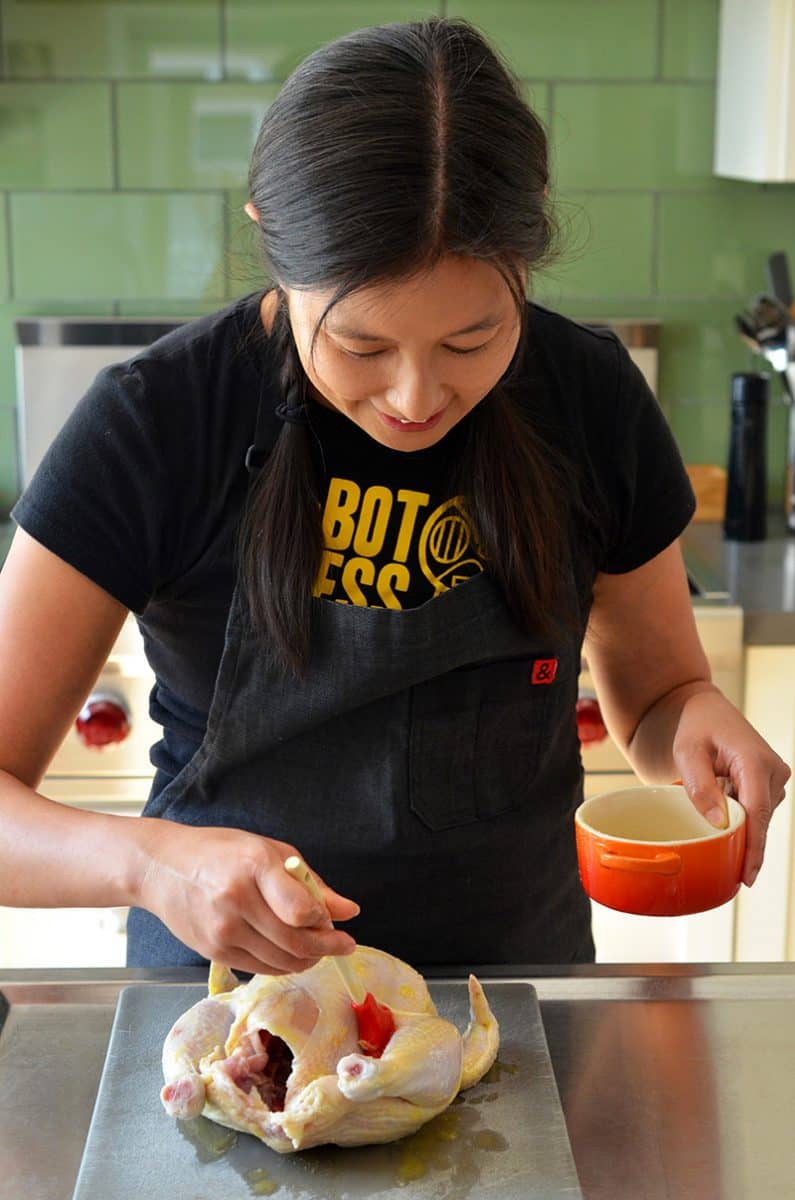
Brush the entire surface of the bird with melted ghee. If your chicken is still cold from sitting in the refrigerator, the ghee may clump up a bit upon contact with the bird, but that’s no biggie.
See my face? That’s not a worried expression.
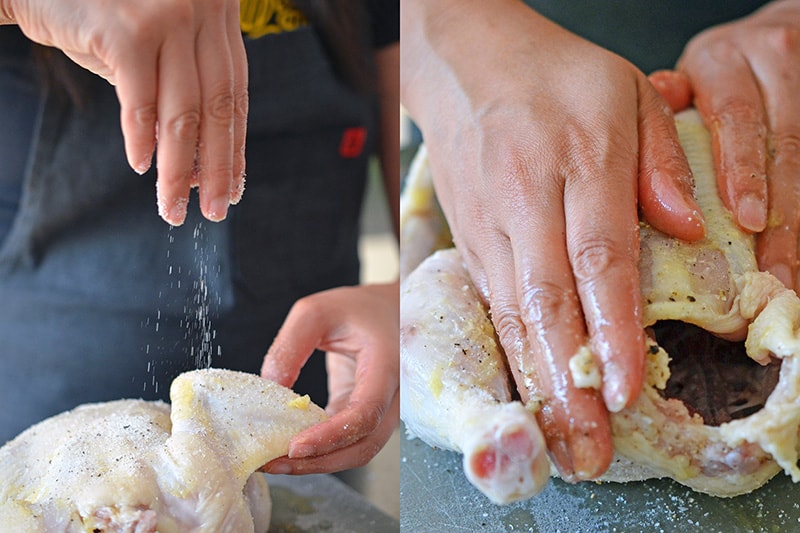
Sprinkle the salt and pepper mixture all over the surface and interior of the bird. Then, massage in the seasoning with your hands.
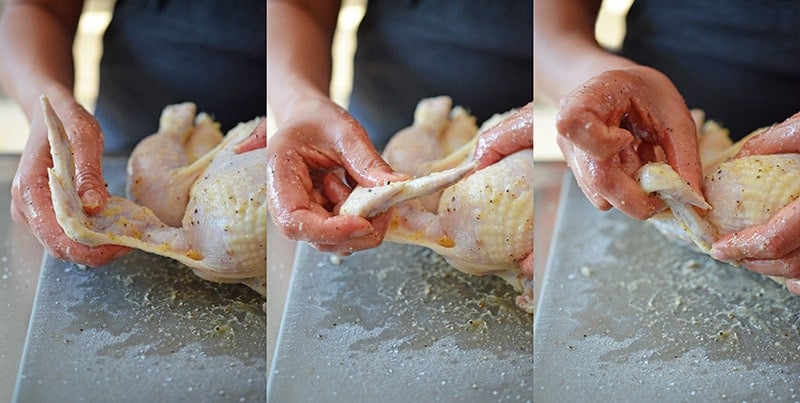
Tuck the chicken wings behind the back to keep ’em from burning in the oven…
…and tie the legs together with a piece of kitchen twine.
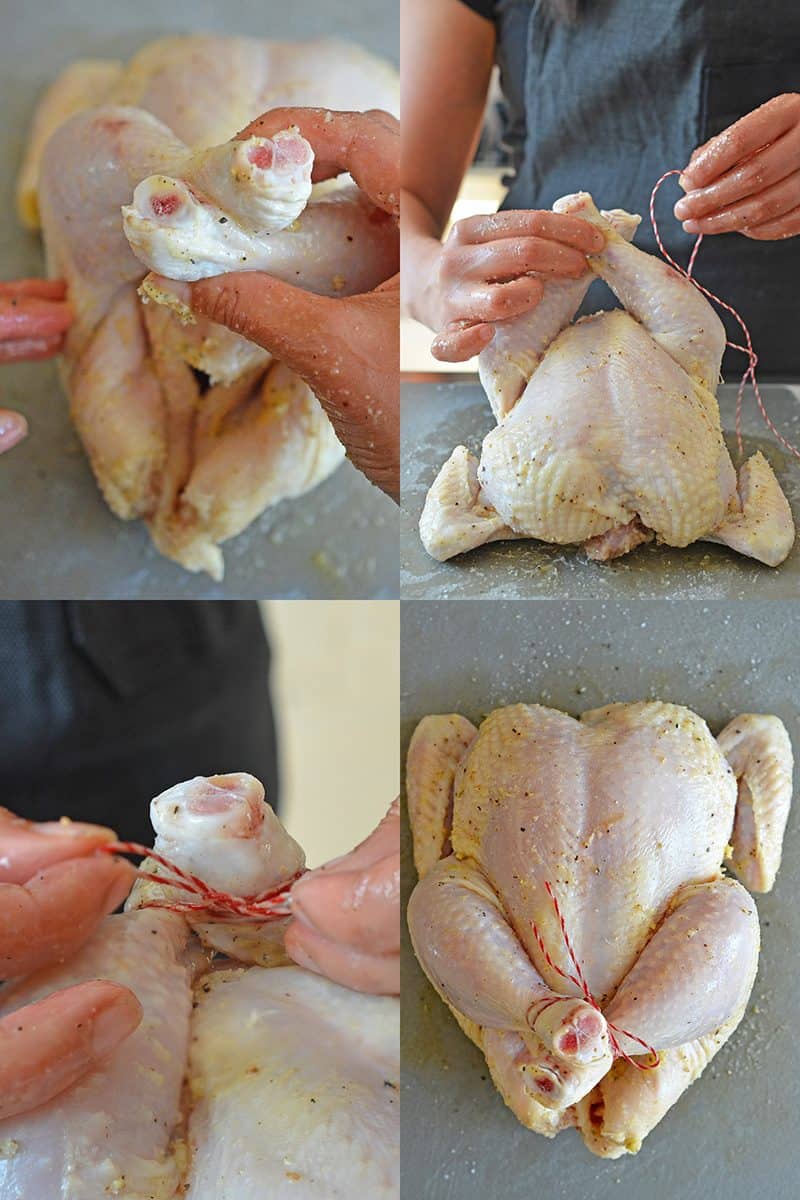
Dainty, right?
Now the bird’s ready for the oven. Place your bird breast-side up in the hot skillet in the oven. Remember that your skillet’s hot—don’t burn your hand.
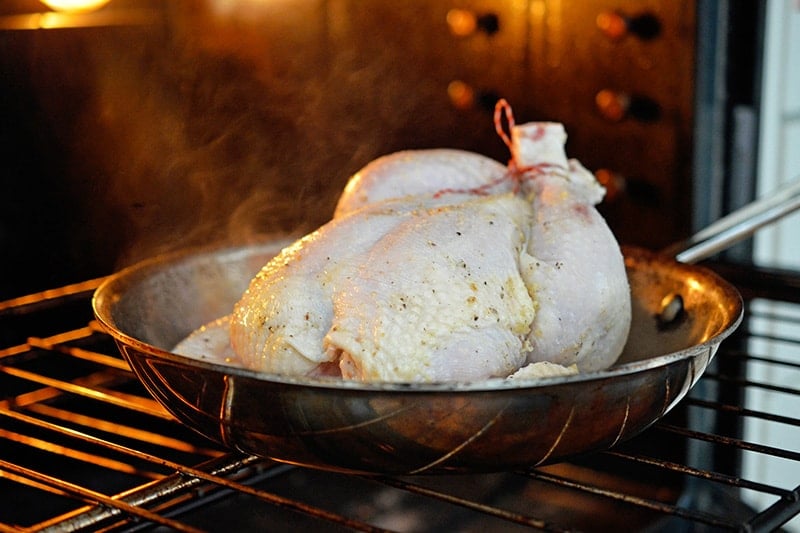
Roast the chicken until the chicken breasts register 120°F and thighs are 135°F, about 25 to 35 minutes. (If you haven’t already invested in an instant-read thermometer, I recommend that you do it. It’s a great insurance policy against ruined dinners.)
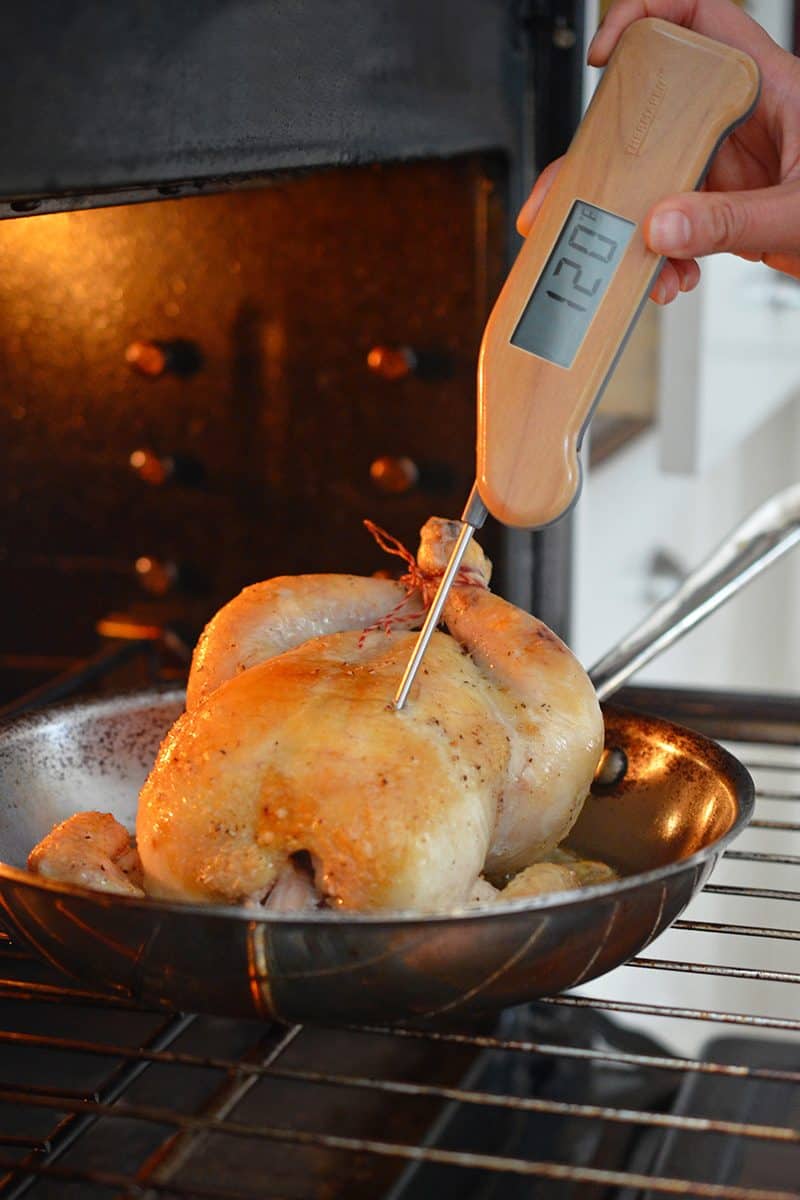
Immediately turn off the oven, leaving the chicken inside until the breast reaches 160°F and thighs are 175°F, about 25 to 35 more minutes. Again, use your meat thermometer to check your bird for readiness.
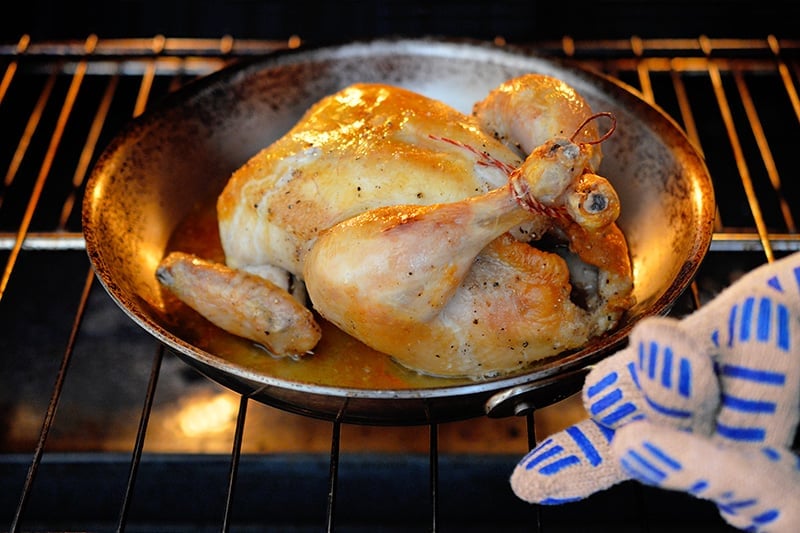
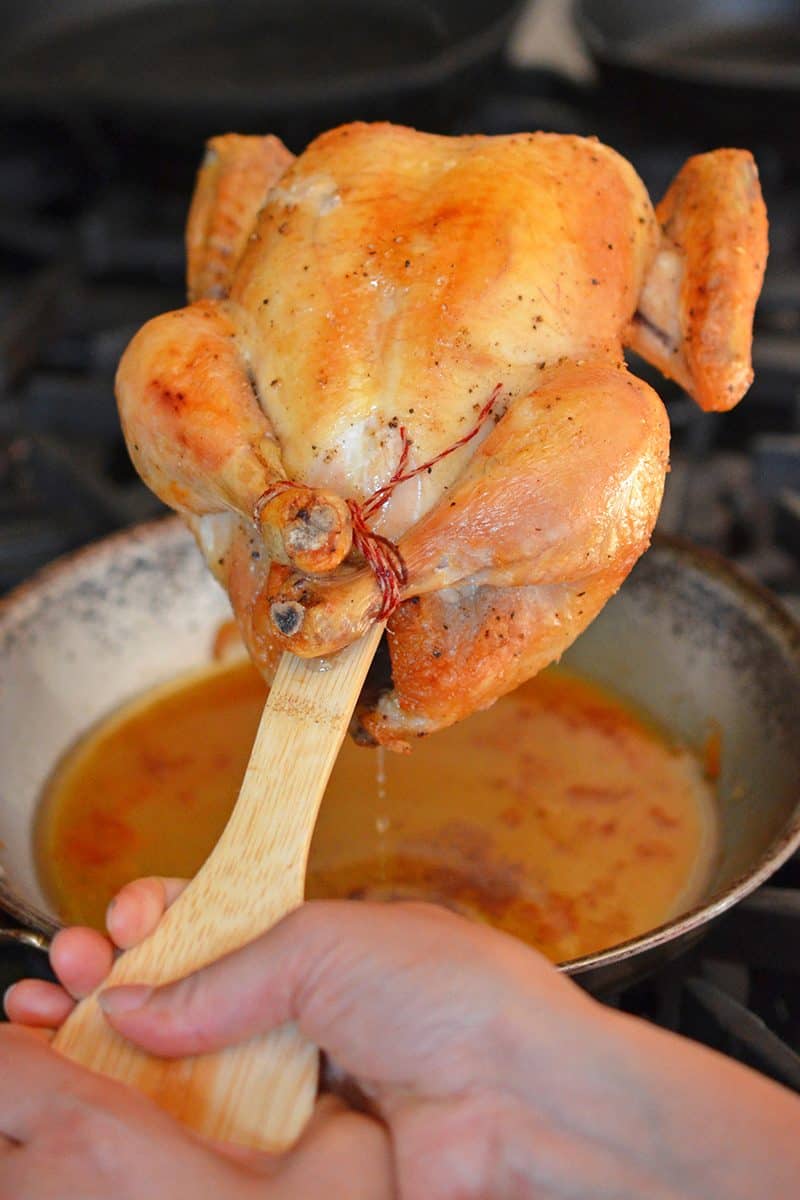
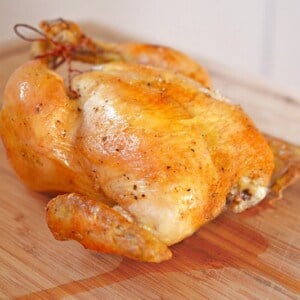
Remove the chicken from the pan and rest it for 20 minutes.
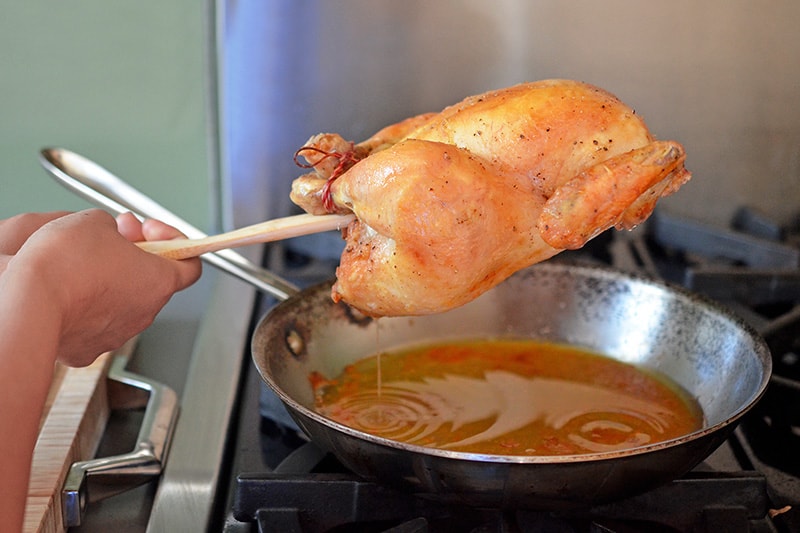
I used to use a pair of tongs to transfer roast chicken from pan to plate, but found that the teeth of my tongs would tear the beautifully crisp, golden skin. The solution? I now insert the handle-end of a sturdy wooden spoon or spatula into the bird’s cavity to lift it up and out—and to drain out any excess juices from the inside of the chicken.
While the chicken’s resting…
…we have time to whip up a quick pan sauce!
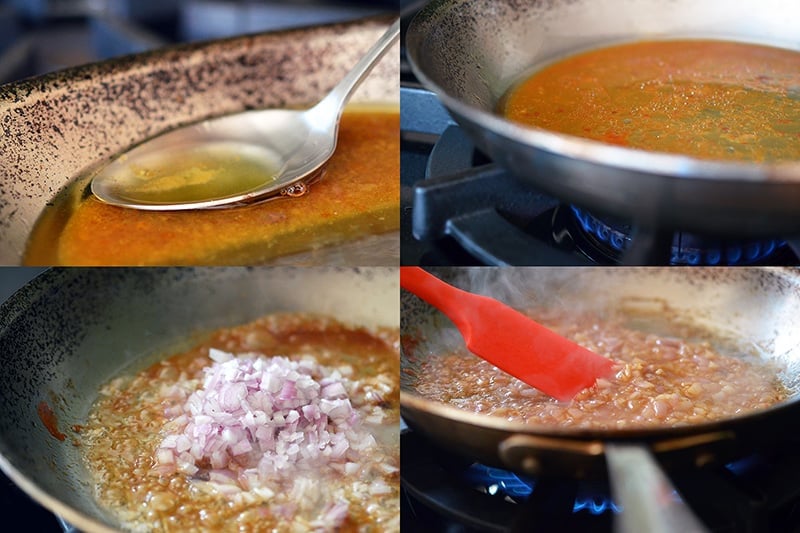
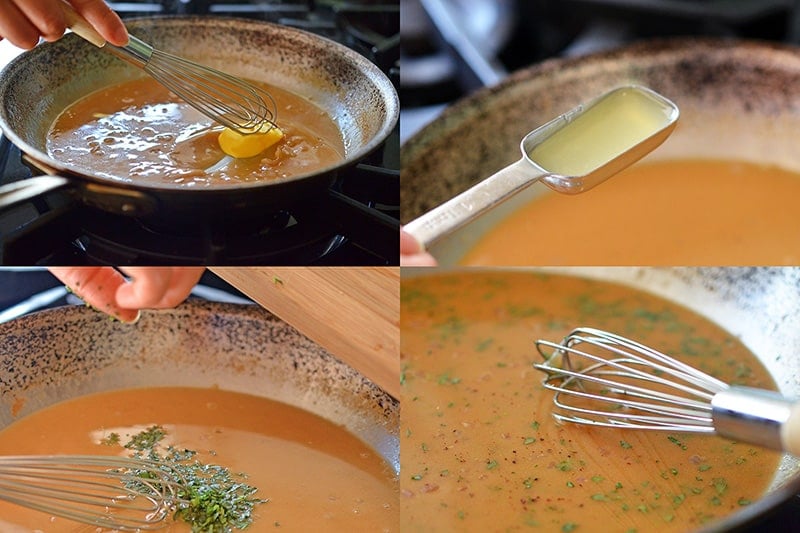
Remove all but 1 tablespoon of fat from the skillet. Leave the extra jus and brown bits in the pan. Then, heat the contents of the skillet over a medium-high burner. Once the liquid starts bubbling, throw in the shallots. Cook the shallots until softened.
Then, pour in the broth and the mustard, scraping up any tasty browned bits on the bottom of the pan. Simmer until reduced to ¾ cup.
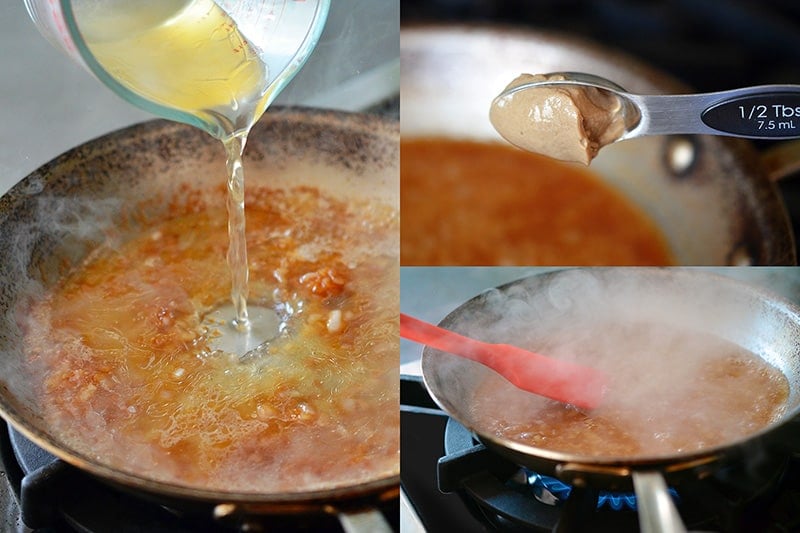
When the sauce is ready, remove it from the heat. Grab the chilled butter or ghee (use the latter if you’re on a Whole30!), and slowly whisk it into the sauce along with the lemon juice and minced tarragon. Season with salt and pepper to taste.
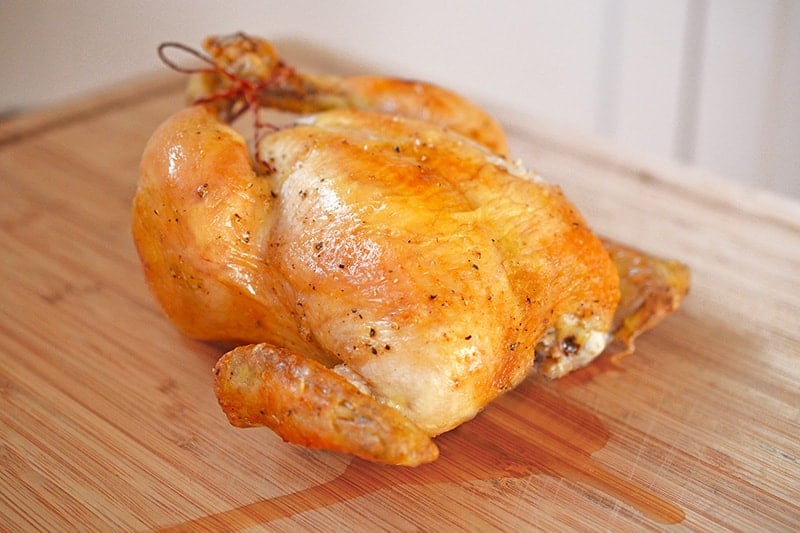
Serve the chicken with the gravy!
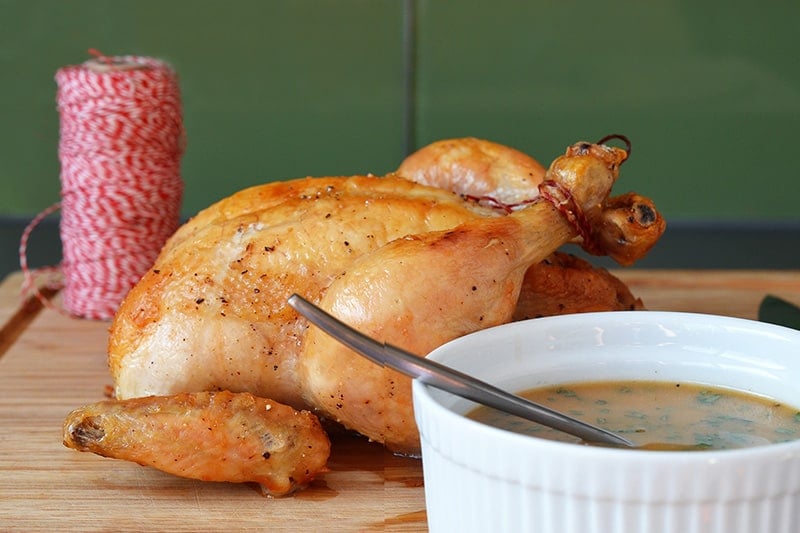
Voilà: the perfect roast chicken!
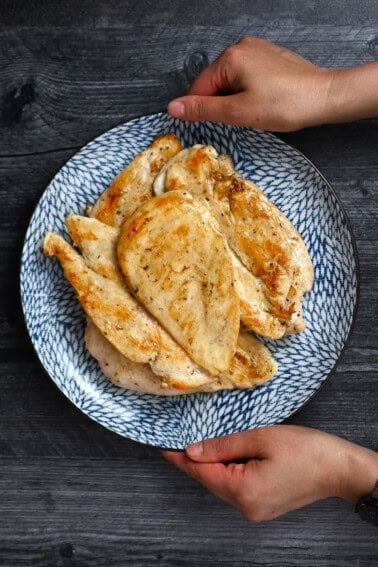
What can you serve with the chicken?
How to save leftovers
You can save leftover roast chicken in an airtight container in the fridge for up to 4 days or in the freezer for up to 3 months
More weeknight chicken recipes!
Looking for more recipe ideas? Head on over to my Recipe Index. You’ll also find exclusive recipes in my cookbooks, Nom Nom Paleo: Food for Humans (Andrews McMeel Publishing 2013), Ready or Not! (Andrews McMeel Publishing 2017), and Nom Nom Paleo: Let’s Go! (Andrews McMeel Publishing 2022).
Weeknight Roast Chicken
Ingredients
Ingredients for the chicken:
- 1 tablespoon Diamond Crystal brand kosher salt
- ½ teaspoon freshly ground black pepper
- 1 3½- to 4-pound whole chicken, giblets discarded
- 1 tablespoon melted ghee or fat of choice
For the optional Tarragon-Lemon Pan Sauce:
- 1 shallot minced
- 1 cup chicken broth or bone broth
- 2 teaspoons Dijon mustard
- 2 tablespoons unsalted butter or cold ghee for folks doing a Whole30
- 2 teaspoons minced fresh tarragon
- 2 teaspoons lemon juice
- Freshly ground black pepper
Instructions
- Position your oven rack in the middle position, place a 12-inch oven-safe skillet on it, shut the oven door, and crank the heat up to 450°F.
- Mix together the salt and pepper in a small bowl, and grab the melted ghee.
- Pat the chicken dry with paper towels. Pull off any extra fat around the open cavity, and trim away any extraneous skin.
- Brush the entire surface of the bird with melted ghee. If your chicken is still cold from sitting in the refrigerator, the ghee may clump up a bit upon contact with the bird, but that’s no biggie.
- Sprinkle the salt and pepper mixture all over the surface and interior of the bird. Then, massage in the seasoning with your hands.
- Tuck the chicken wings behind the back to keep ’em from burning in the oven, and tie the legs together with a piece of kitchen twine.
- Place your bird breast-side up in the hot skillet in the oven. Remember that your skillet’s hot—don’t burn your hand.
- Roast the chicken until the breast registers 120°F and thighs are 135°F, about 25 to 35 minutes. (If you haven’t already invested in a meat thermometer, I recommend that you do it. It’s a great insurance policy against ruined dinners.)
- Immediately turn off the oven, leaving the chicken inside until the breast reaches 160°F and thighs are 175°F, about 25 to 35 more minutes. Again, use your meat thermometer to check your bird for readiness.
- Remove the chicken from the pan and rest it for 20 minutes.
- While the chicken’s resting, whip up a quick pan sauce! Remove all but 1 tablespoon of fat from the skillet. Leave the extra jus and brown bits in the pan. Then, heat the contents of the skillet over a medium-high burner. Once the liquid starts bubbling, throw in the shallots. Cook the shallots until softened.
- Then, pour in the broth and the mustard, scraping up any tasty browned bits on the bottom of the pan. Simmer until reduced to ¾ cup.
- When the sauce is ready, remove it from the heat. Grab the chilled butter or ghee (use the latter if you’re on a Whole30!), and slowly whisk it into the sauce along with the lemon juice and minced tarragon. Season with salt and pepper to taste. Serve the chicken with the sauce!
Notes
- I used to use a pair of tongs to transfer roast chicken from pan to plate, but found that the teeth of my tongs would tear the beautifully crisp, golden skin. The solution? I now insert the handle-end of a sturdy wooden spoon or spatula into the bird’s cavity to lift it up and out—and to drain out any excess juices from the inside of the chicken.
- Pair it with a simple salad or roasted vegetables, and treat your family to a midweek feast!
Nutrition
Nutrition information is automatically calculated, so should only be used as an approximation.


I’ve made this many times and it always turns out moist and juicy. Only problem is, it does make a mess of the oven.
Thanks for this guide to my first ever full roasted chicken! It came out great! I had a little trouble getting the breasts and thighs to the appropriate temperatures in Phase One, but leaving it in the oven longer ensured it was safely cooked and did not dry out the chicken. And thanks for the tip to keep an eye out for chickens on sale. I’m looking forward to making this again!
I LOVE this recipe! I used to make it regularly once upon a time, now I live alone and it’s definitely back on the menu. So simple, utterly delicious (pan sauce is a must!), and great leftovers for future use.