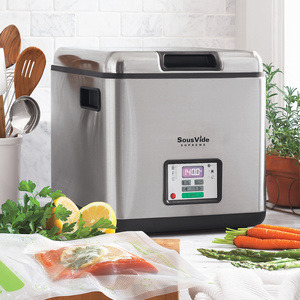
It’s no secret that I love my SousVide Supreme.
It’s perfect for daily meal planning, emergency meals, and prepping lots of protein when I’m throwing a party. As long as you know the final serving temperature and the minimum cooking time for the item your making, you’re golden. All you do is fill it with agua, set the temperature, dump in your vacuum-sealed food, and forget it. The machine has such a large capacity that you can cook lots of meat which you can freeze for many months or refrigerate for about a week. Using a water oven has completely revolutionized the way I cook and I’m always extolling its virtues to whoever will listen.
And it’s not just ‘cause I’m a windbag.
Unfortunately, sous vide machinery can cost mucho dinero: thousands for commercial-grade and hundreds for home-use models (e.g. SousVideMagic and SousVide Supreme). However, if you’re akin to MacGyver, you can MAKE your own sous vide contraptions!
Make Magazine just posted in-depth, step-by-step instructions on how to construct your own sous vide immersion cooker. This project costs about $75 and after 5-6 hours of tinkering, you end up with a nifty
portable device that heats and circulates water while maintaining a temperature accurate within 0.1°C. And unlike the SousVide Supreme, it mounts easily onto larger containers, up to about 15 gallons, for greater cooking capacity.
Since I’m not mechanically inclined, I’d never attempt a DIY sous vide machine. I’d rather plunk down the dough than risk electrocution (me + water + electricity = quick death). But for all you engineers out there, game on!
The cheapest DIY sous vide apparatus is the beer cooler get-up described on the Serious Eats website back in April. For about $25 you can transform a lowly beer cooler into your very own reliable water bath. The big deal with this cheapo hack is that your results are INDISTINGUISHABLE from those you’d get when cooking with a SousVide Supreme . Plus, you don’t run the risk of electrocuting yourself!
What are you waiting for? Get your sous vide on! What? You don’t have a vacuum sealer? You don’t need one if you use the Ziploc water displacement method shown in Douglas Baldwin’s video.