Who wants some Instant Pot bone broth? Bone broth is good for you, but it takes forever to make—unless you’re using my recipe for Instant Pot bone broth. It’ll be ready in less than an hour!
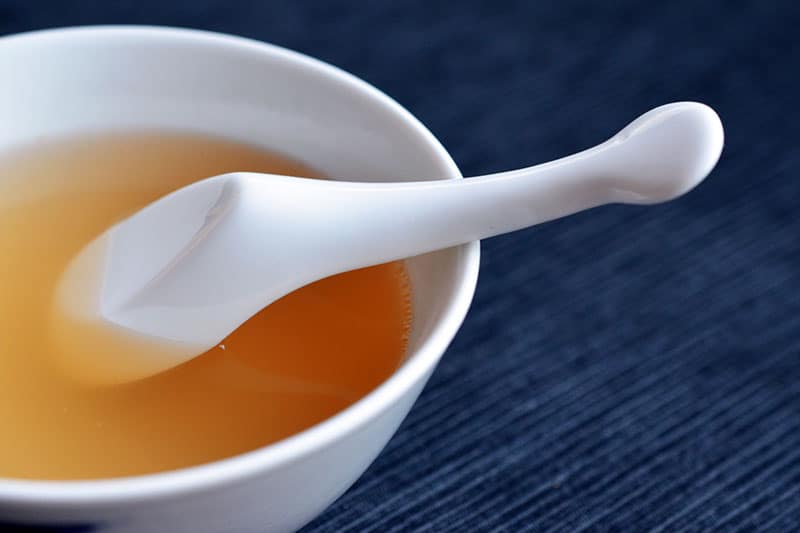
There’s nothing I like more than a nice steaming mug of bone broth to get me through the cold winter months. It warms me from the inside out!
I have a recipe for simmering bone broth in the slow cooker—and my mom routinely makes a pot on the stove—but sometimes I just want a bowl RIGHT NOW. If you haven’t guessed, patience ain’t one of my strong suits.
Enter the pressure cooker / Instant Pot.
According to foodie scientist, Harold McGee, “a pressure cooker is a special pot that seals tightly and traps hot steam to build the pressure and temperature.” In other words, stocks and stews that normally take hours to cook are finished in just 1/3 the time in a pressure cooker. I don’t use my pressure cooker for everything but I do love stewing braised veggies and meaty bone broths in it. Why? Because these dishes just turn out better and faster. It’s quite remarkable how pressure cooking can transform meaty, collagen-filled cuts like oxtail and cross shanks into fork tender cuts in less than an hour.
(Although the new generation of pressure cookers are safer than the old ones, please read your instruction manual carefully and check out these helpful tips from Mr. McGee. You do need to babysit the pot and you can’t wing it.)
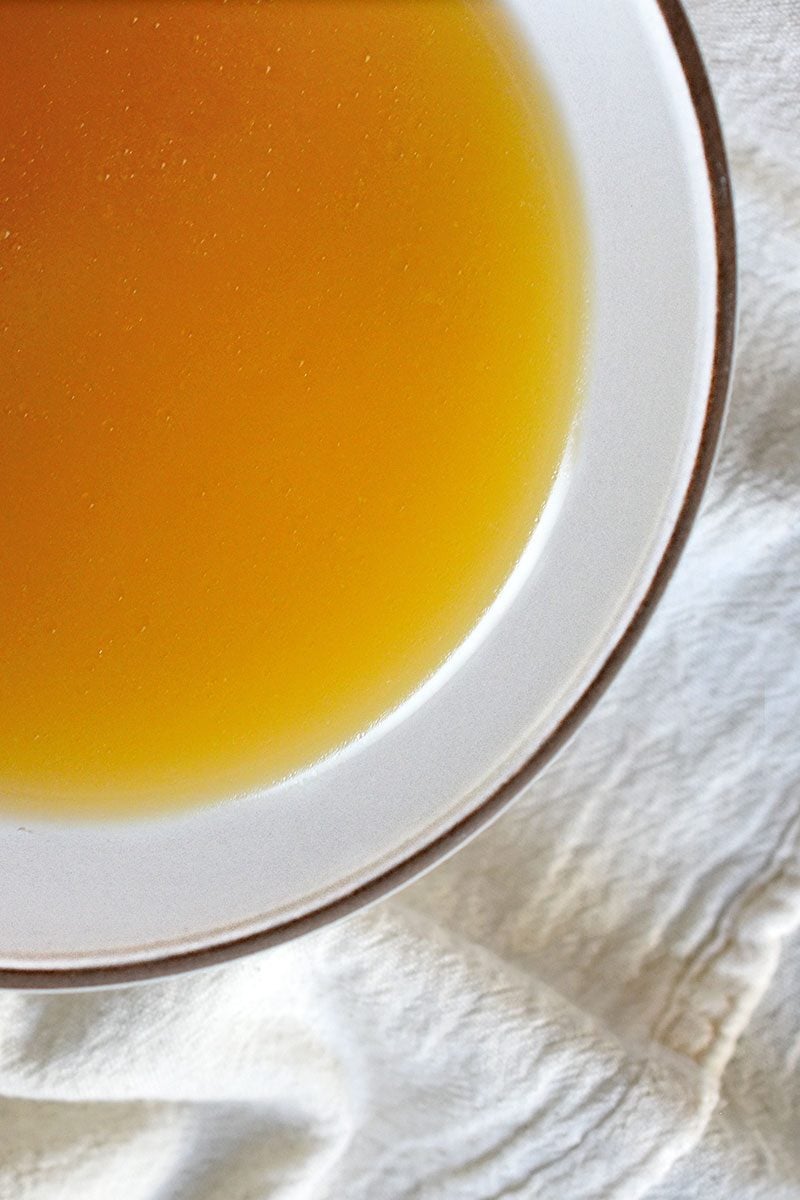
This simple recipe for a flavorful bone broth that’ll be ready in less than an hour. And, yes, it does gel in the fridge. Just throw in a few chicken feet or joint bones and your broth will be all jiggly.
Ingredients
- 2 medium leeks, cleaned and cut in half crosswise (or 1 onion, peeled and quartered)
- 1 medium carrot, peeled and cut into three pieces
- 2.5 pounds of assorted bones (I use a mixture of chicken and pork bones from the freezer or cross shanks and oxtails)
- 8 cups of water (enough to cover the bones but not more than 2/3rd the capacity of the pressure cooker)
1 teaspoon apple cider vinegar(Update: I don’t normally add apple cider vinegar anymore because it doesn’t extract any minerals into the broth. I went to this lecture and afterwards, I decided it wasn’t necessary. Plus, I don’t like the flavor.)- 2 tablespoons of Red Boat fish sauce (much better than salt, IMHO)
- 3 dried shiitake mushrooms (optional)
How to make Instant Pot Bone Broth
Dump the leeks and carrots in the pressure cooker or Instant Pot (make sure it’s at least 6-quarts), and toss in your bones (frozen is fine).
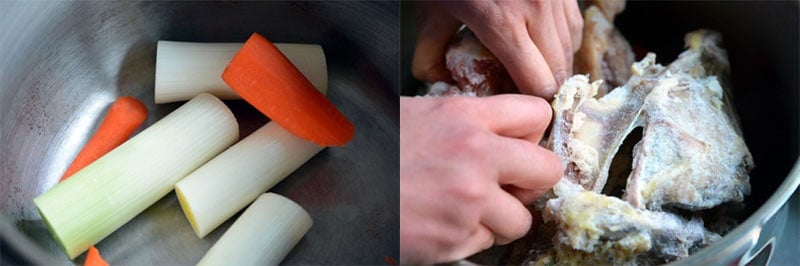
Then, cover with water (make sure you don’t fill more than two-thirds capacity!) and add vinegar.

Add the fish sauce and toss in the dried shiitake mushrooms (if using). Then, cover and lock the lid, and program to the Instant Pot to cook under high pressure for 30-50 minutes (I let it go for 50 minutes if I’m cooking meaty shanks or oxtails). If I’m not in a rush, I set my Instant Pot on high pressure for 2 hours—the broth only gets better with more time.
If you’re using a stovetop pressure cooker, place the pot on a burner set on high heat. Once the indicator pops up showing that the contents of the pot have reached high pressure, immediately decrease the temperature to the lowest possible setting to maintain high pressure (low is normally adequate).

Set the timer for 30 minutes (I let it go for 50 minutes if I’m cooking meaty shanks or oxtails).
When the broth is done cooking in the Instant Pot or stovetop pressure cooker, let the pressure release naturally (10-15 minutes).
Remove the lid, skim of the scum (if you desire), and strain the broth. Taste and adjust for seasoning. I keep it on the blander side if I will be cooking with it.
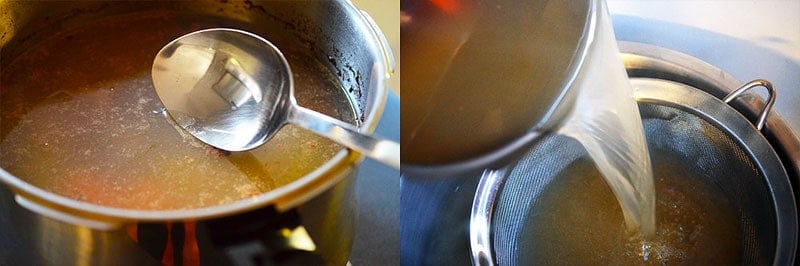
I don’t parboil the bones to decrease the scum because I’m lazy. Plus, there really isn’t that much left after you strain it. (Check out my updated post on how I store bone broth here.)
Faster and more flavorful than other methods. Really.

More tips on making and storing bone broth
Don’t have a pressure cooker? Then check out my Slow Cooker Bone Broth recipe!
One last thing: not sure what to do with all your bone broth? Check out my post on how to store the stuff!
Looking for more recipe ideas? Head on over to my Recipe Index. You’ll also find exclusive recipes in my cookbooks, Nom Nom Paleo: Food for Humans (Andrews McMeel Publishing 2013), Ready or Not! (Andrews McMeel Publishing 2017), and Nom Nom Paleo: Let’s Go! (Andrews McMeel Publishing 2022).
PRINTER-FRIENDLY RECIPE CARD
Instant Pot Bone Broth – Fast, Flavorful, and Nom Nom Paleo Approved

Ingredients
- 2 medium leeks cleaned and cut in half crosswise or 1 onion, peeled and quartered
- 1 medium carrot peeled and cut into three pieces
- 2.5 pounds assorted bones I use a mixture of chicken and pork bones from the freezer or cross shanks and oxtails
- 8 cups water enough to cover the bones but not more than 2/3rd the capacity of the pressure cooker
- 1 teaspoon apple cider vinegar optional (I don’t use it anymore)
- 2 tablespoons Red Boat fish sauce
- 3 dried shiitake mushrooms optional
Instructions
- Toss the leeks and carrots in the pressure cooker or Instant Pot (make sure it’s at least 6-quarts), and toss in your bones (frozen is fine). Then, cover with water (make sure you don’t fill more than two-thirds capacity!).
- Add the vinegar (optional) fish sauce, and dried shiitake mushrooms (optional).
- Then, cover and lock the lid, and program your Instant Pot to cook under high pressure for 30 to 50 minutes. (I let it go for 50 minutes if I’m cooking meaty shanks or oxtails). If I’m not in a rush, I set my Instant Pot on high pressure for 2 hours—the broth only gets better with more time.
- If you’re using a stovetop pressure cooker, place the pot on a burner set on high heat. Once the indicator pops up showing that the contents of the pot have reached high pressure, immediately decrease the temperature to the lowest possible setting to maintain high pressure (low is normally adequate). Set the timer for 30 minutes. When the timer goes off, turn off the burner and remove the pot from the heat.
- When the broth is done cooking in the Instant Pot or stovetop pressure cooker, let the pressure release naturally (10-15 minutes).
- Remove the lid, skim of the scum (if you desire), and strain the broth. Taste for seasoning and adjust if needed. You can keep it on the blander side if you will be cooking with it!
Video
Notes
Nutrition
Nutrition information is automatically calculated, so should only be used as an approximation.


I’m curious as to why you leave out the vinegar. It’s supposed to help draw out the minerals from the bones. What is your take on that?
I went to the Ancestral Health Symposium a few years ago and Kaayla Daniels did a talk about the benefits of bone broth. She said that lab tests don’t detect significant amounts of minerals in bone broth and the real benefit is the collagen. You can watch the talk here: https://www.youtube.com/watch?v=3ZrgETZzb0A
I just watched the video and found it very interesting and informative. I used your recipe to make my first batch of broth in my instant pot today. I was curious about why most recipes have vegetables and now know. Thanks for sharing the link.
Where’s the Welsh Beef Soup recipe online? It’s on my iPhone and iPad apps but not online.
That recipe is only on the app! We wanted to make sure that people who paid for the app had access to exclusive recipes.
Do you have any idea why Mommypotamus would say to use low pressure while you (and most) say to use high?
I was wondering the same. Someone asked this question in her comments and she replied, “Cooking broth on high for an extended period of time can also break down gelatin, which is why I recommend using the low setting”. Her recipe instructs using the “soup” setting on the Instant Pot (maybe that makes a difference too).
I use a standard stainless steel pressure cooker and keep it high long enough to get the knob rocking, then turn it a bit lower. I think her position is an overly cautious one however, because my stock made this way has never failed to gel.
I get plenty of gelling when I cook under high pressure and I’d rather have my soup sooner than later!
She might be taking her cue from WAPF folks who cast a suspicious eye on using the pressure cooker. I did research to my own satisfaction and decided there wasn’t harm in it and they are perhaps being overly cautious. For me the fact that the bones crumbled after straining, and my stock gelled every time convinced me of its superiority.
Thanks so much for your post! I just made bone broth for the first time, but it did not gel 🙁 I used 3 pounds of marrow bone. Any tips on what i could have done wrong? Thanks!!!!
I always use joint bones (knuckles, or oxtails) with lots of collagen that gets converted into gelatin. Another great collagen-rich ingredient is chicken feet!
Thanks!
What do you think of using pigs feet in with bones for gelling? The Bone Broth Diet recommends them.
Pigs’ feet have tons of collagen so it will definitely help with gelling!
Thank you for posting this! What’s the difference between stock and bone broth?
Stock is more concentrated from cooking longer.
Do you ever roast your bones first? I’ve read so much about making bone broth and it gets confusing! 🙂
You can! I don’t because I’m lazy.
HAHA! Love your comments!
i think it makes the broth more palatable to roast them, I also like to add all the aromatics and more marrow heavy bones.
Hello, How long can I store the broth for in the fridge and can I freeze it?
I have a whole blog post about storing bone broth: https://nomnompaleo.com/post/98290360103/how-to-store-bone-broth
Thank you for the bone broth recipe! I have been searching for days now and this one looks easy and tasty.
Why don’t you use apple cider vinegar anymore?
I don’t think it adds anything except sourness. You still get plenty of collagen without it.
Oh! I thought it helped break down the bones! Thanks for responding so quickly!
The amount of minerals in bone broth is actually pretty negligible, so I just leave the acid out.
I tried this with a chicken carcass from a roast chicken. I strained and put in the fridge. The next day every container was so gelled up I wouldn’t call it a liquid at all! Is this how it’s suppose to be? I have made broth on the stove top with the same ingredients but it never gelled up so bad. I still used it but just wondering if this is normal?
Gelling means you have tons of collagen in your soup which is desirable and nutritious! High five to you!