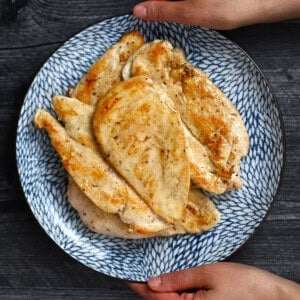
These days, this is my go-to method I use to cook chicken breasts reliably and quickly at home. Thin cutlets, perfect seasoning, a hot skillet, and a little mayo guarantee juicy chicken in minutes.

Boneless, skinless chicken breasts have a terrible reputation: dry, bland, and way too easy to overcook.
In the past I’d avoid them like the plague, but now as a middle-aged woman prioritizing her protein intake, I’ve been tinkering with different ways to cook them so they are foolproof, fast, and fantastic.
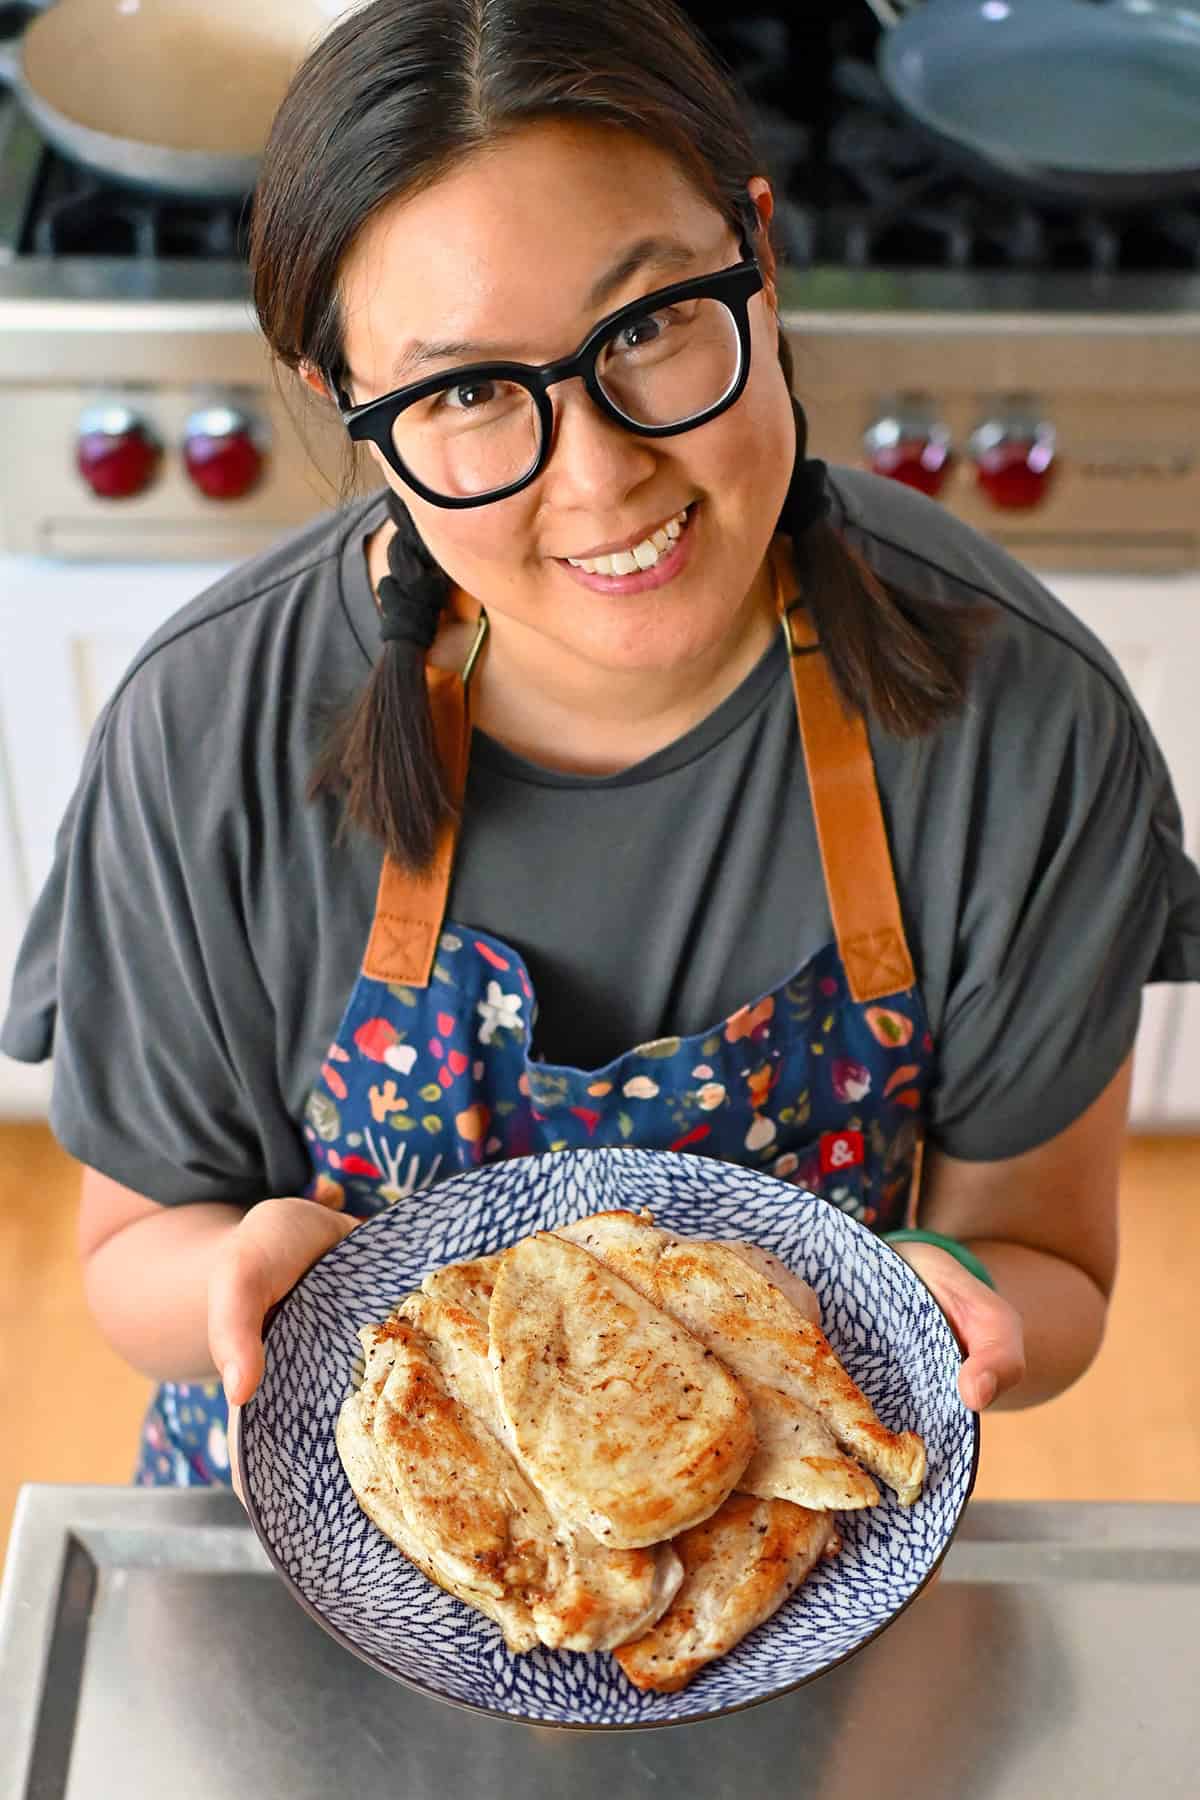
After lots of trial and error, my favorite method involves uniformly browned thin chicken cutlets, a hot skillet, and a thin layer of mayo. I meal prep a few pounds on repeat because it’s quick, reliable, and actually tastes good straight from the fridge. Also, everyone in our family seems to be protein-maxing these days so I can’t keep enough stocked in the fridge!
No brining. No baking. No sad, chalky leftovers. It’s the best.
Why most chicken breast ends up dry
Most chicken breast disasters happen for a few predictable reasons:
- The pieces are uneven, so the outside and thin ends overcook before the center is done.
- The heat is too low, so the chicken steams instead of sears.
- It’s cooked too long “just to be safe.”
This easy method avoids all of that.
If you prefer dark meat, my stovetop Cracklin’ Chicken and Air Fryer Crackling’ Chicken recipes use a similarly foolproof approach thatt results in super juicy chicken thighs with crispy skin.
Ingredients
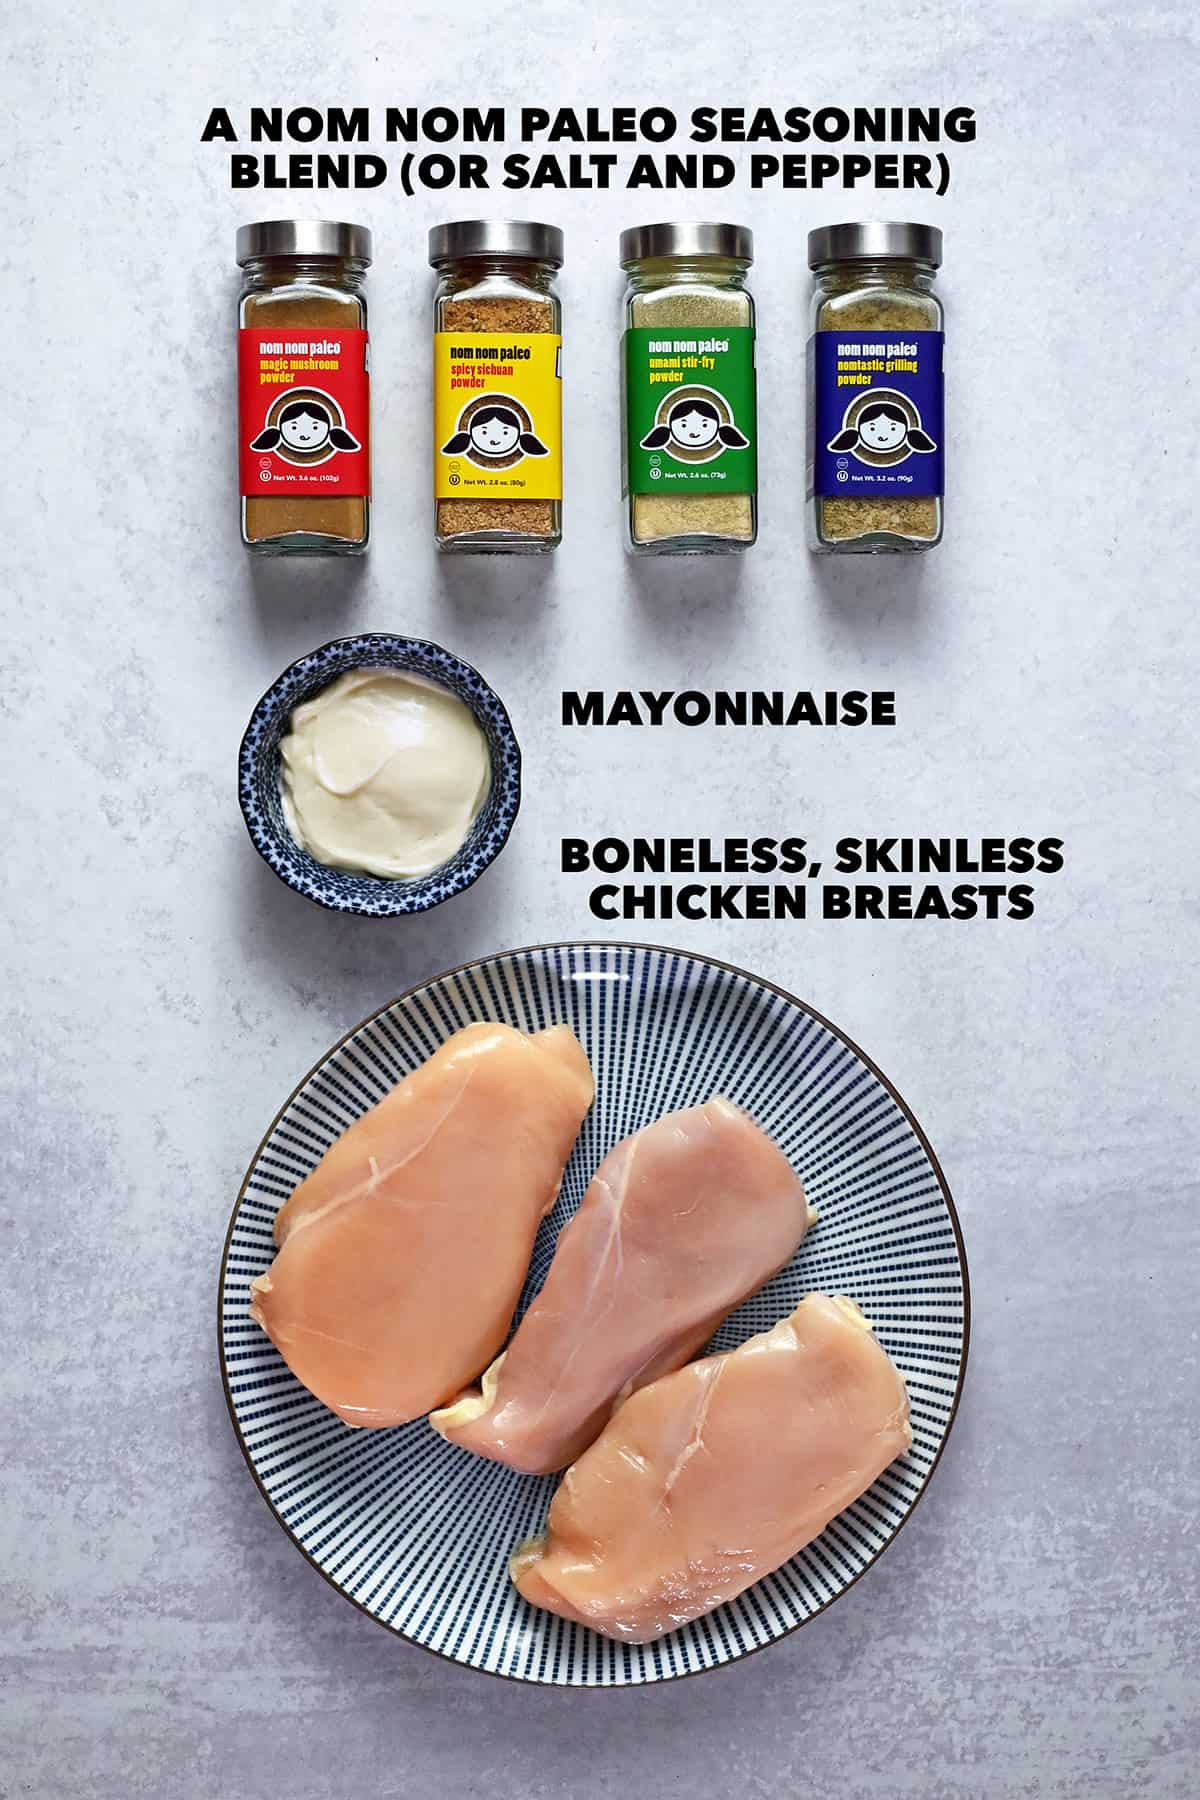
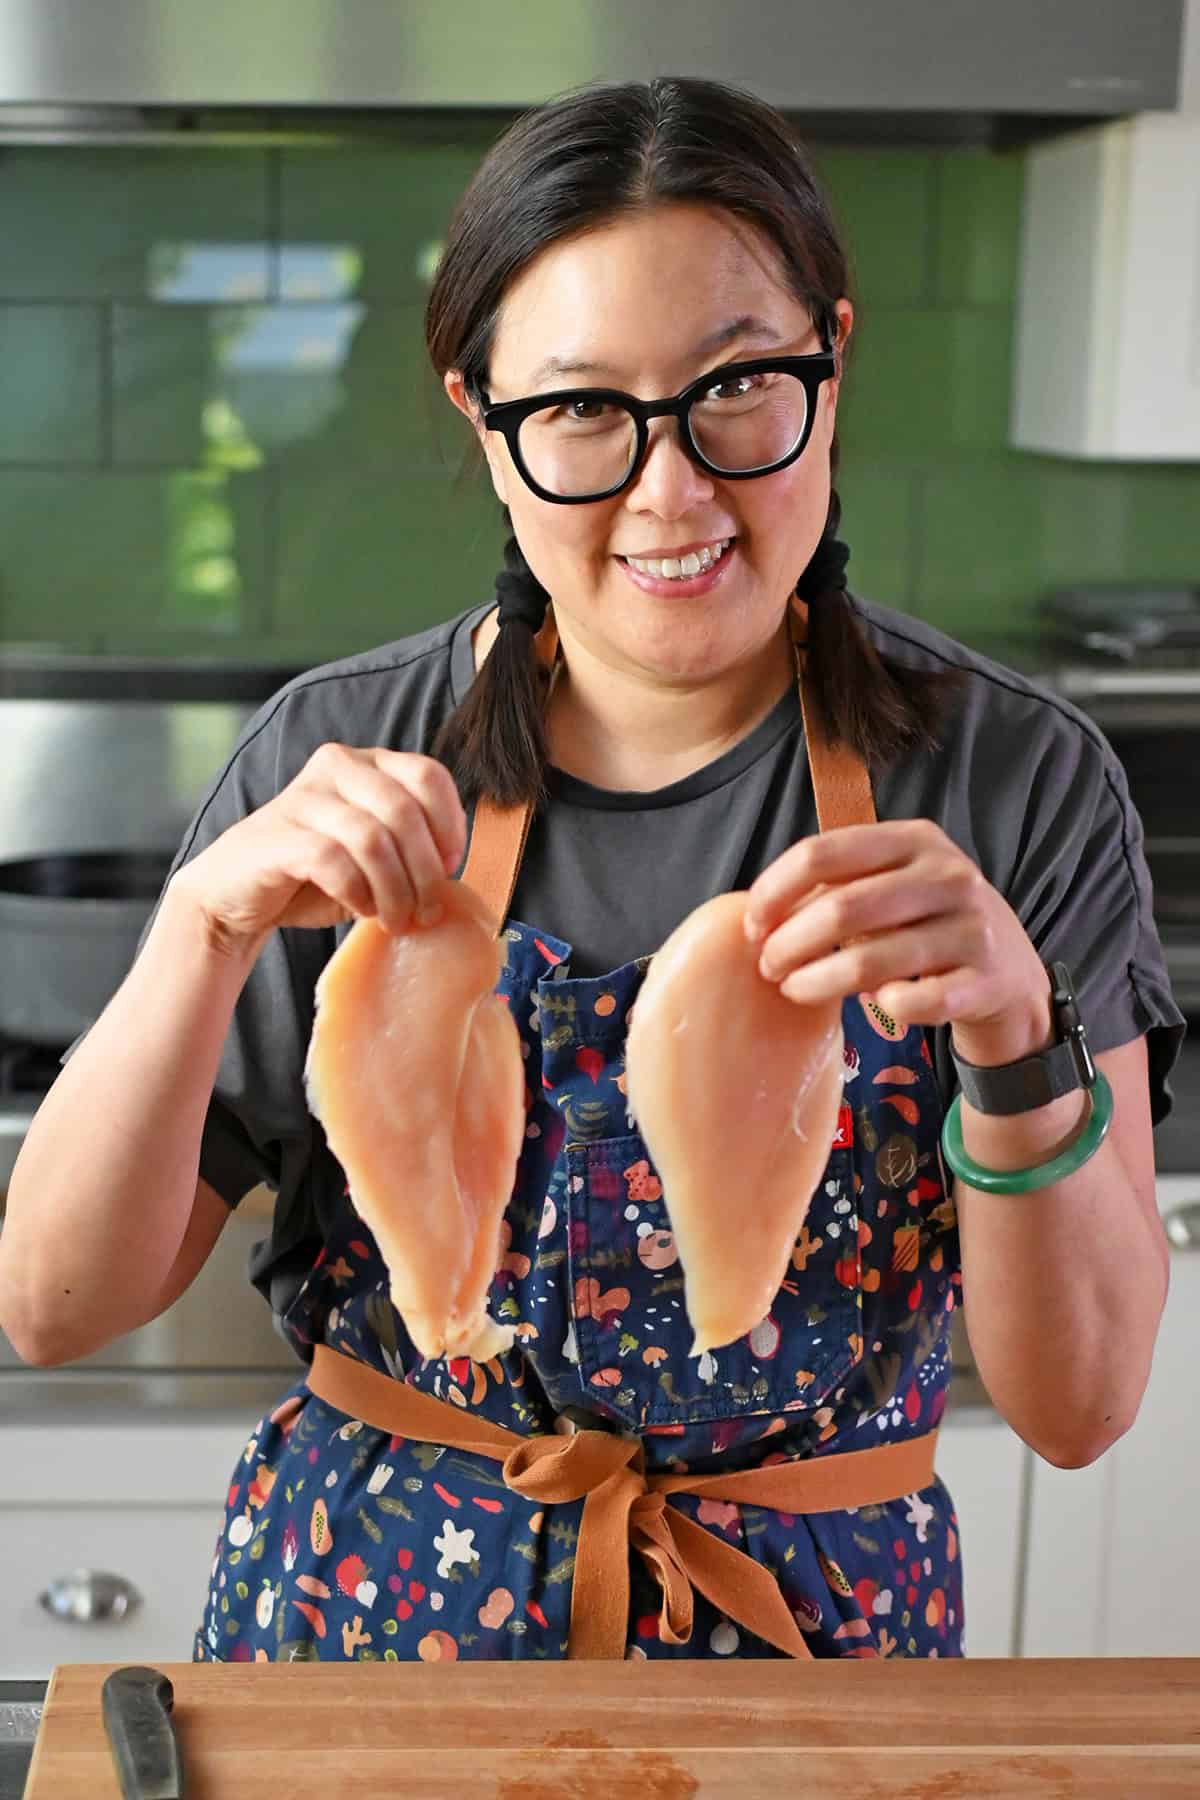
- Boneless, skinless chicken breasts: I actually prefer buying smaller chicken breasts that are about 6 to 8 ounces each because they’re perfect for slicing into thin cutlets. The larger breasts are usually pretty irregularly shaped, so you’ll often need to cut them more than once to create evenly sized pieces. If you don’t feel comfortable slicing chicken breasts in half because your knife isn’t very sharp (I use this knife sharpener at home), you can buy thin chicken cutlets at the supermarket instead. Just know they can be expensive and are often unevenly shaped—you should still pound them thinly before searing.
- Mayonnaise: Don’t skip the mayonnaise! A thin layer of mayo helps keep the seasoning on the chicken, encourages browning, and protects the meat from drying out while it cooks. You won’t taste it in the finished dish, but it makes this method much more foolproof and consistent.
- Nom Nom Paleo seasoning blend of choice: These chicken cutlets taste great even if all you use is salt, but if you want to jazz things up, use your favorite Nom Nom Paleo seasoning blend! Any of my seasoning salts work beautifully here. You can make them yourself (three of the four recipes are in Nom Nom Paleo: Let’s Go!) or buy the blends on Amazon or directly from The Spice Lab. Don’t want to use one of my blends? No problem. A simple combination of salt, garlic powder, onion powder, and smoked paprika works great too.
How to make juicy chicken breast
Thin, even cutlets cook better
Start by slicing chicken breasts horizontally into thin cutlets. Place the chicken breast flat on a cutting board and you must use a sharp knife—this is much safer than trying to saw through the meat with a dull blade.
With your non-dominant hand, gently press the top of the chicken breast flat with the palm of your hand to keep it steady. Keeping the knife parallel to the cutting board, carefully slice horizontally through the thickest side of the breast to split it into two thinner pieces.
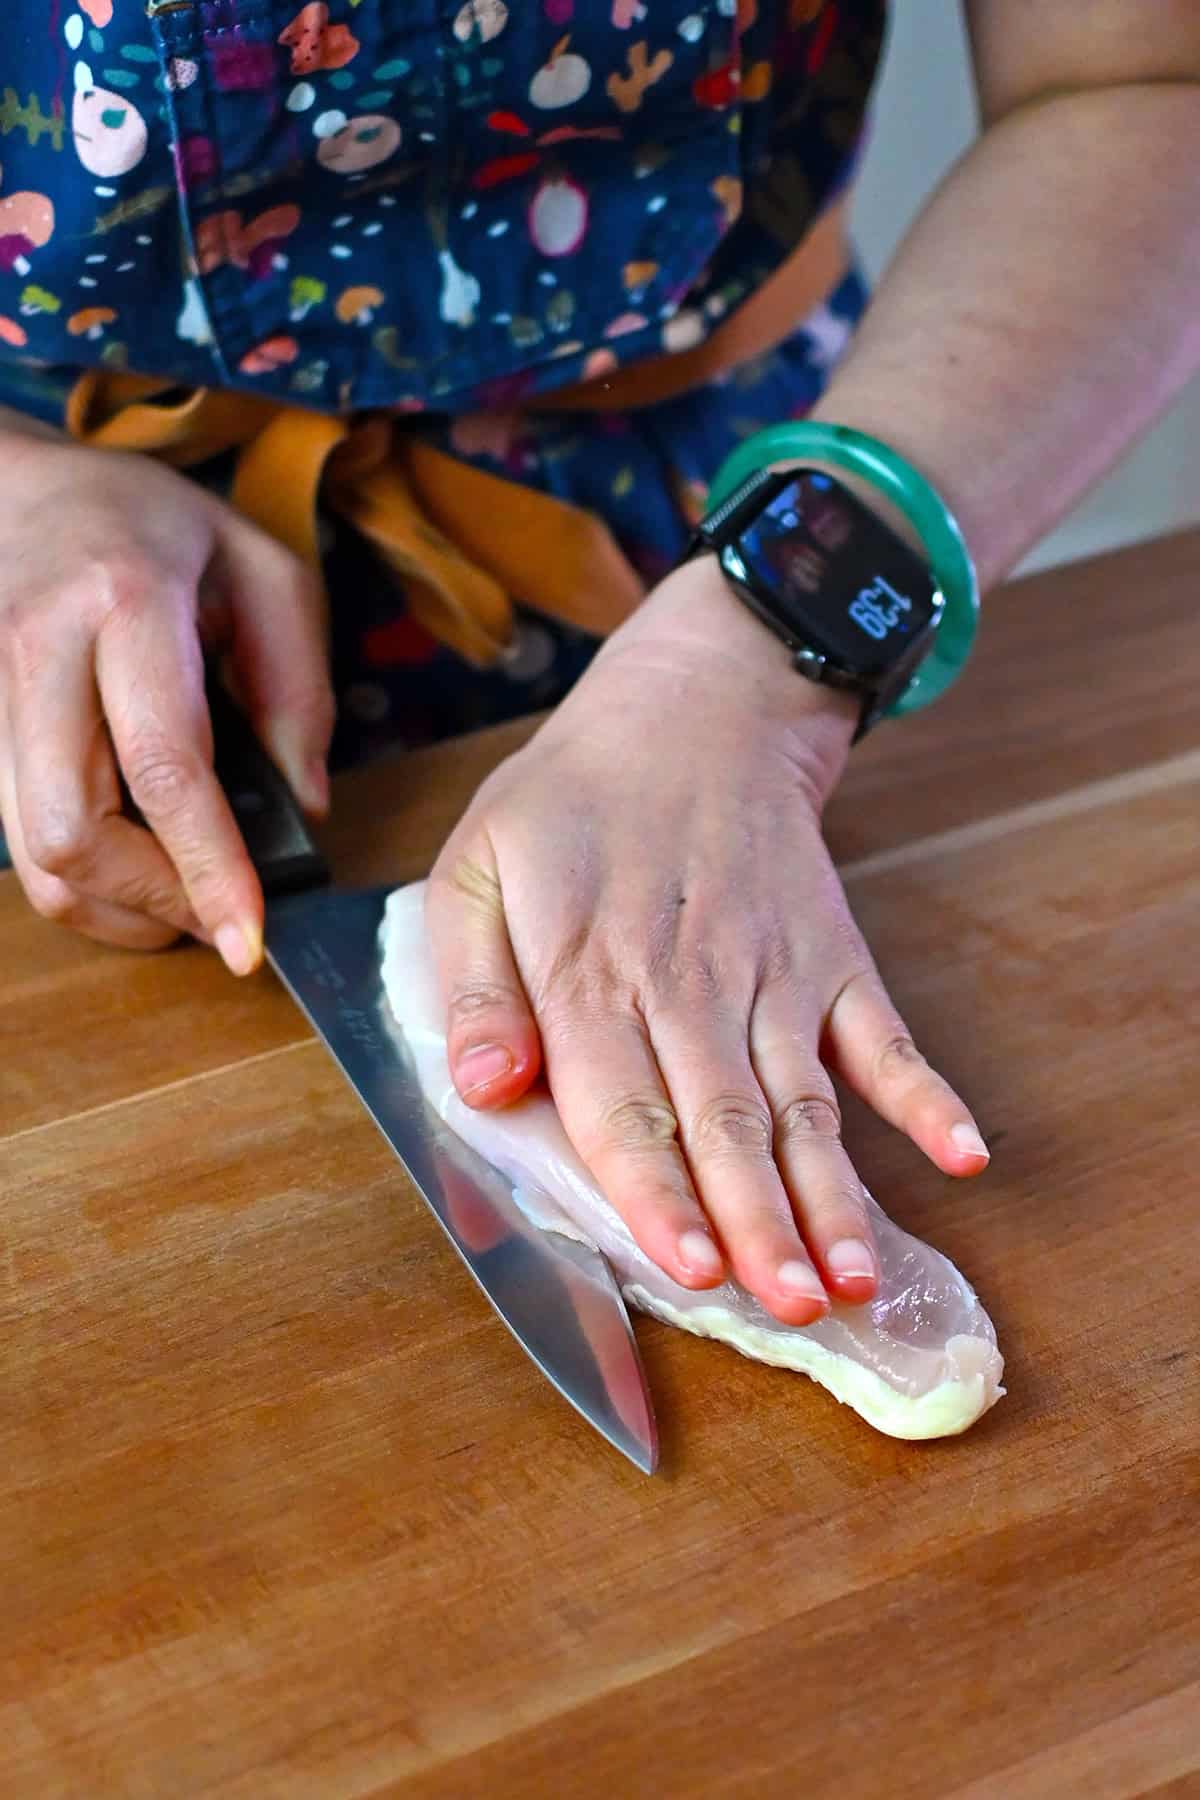
Don’t cut all the way through right away. Instead, use smooth, controlled strokes and slowly work your way through the center while keeping your fingers lifted and out of the knife’s path.
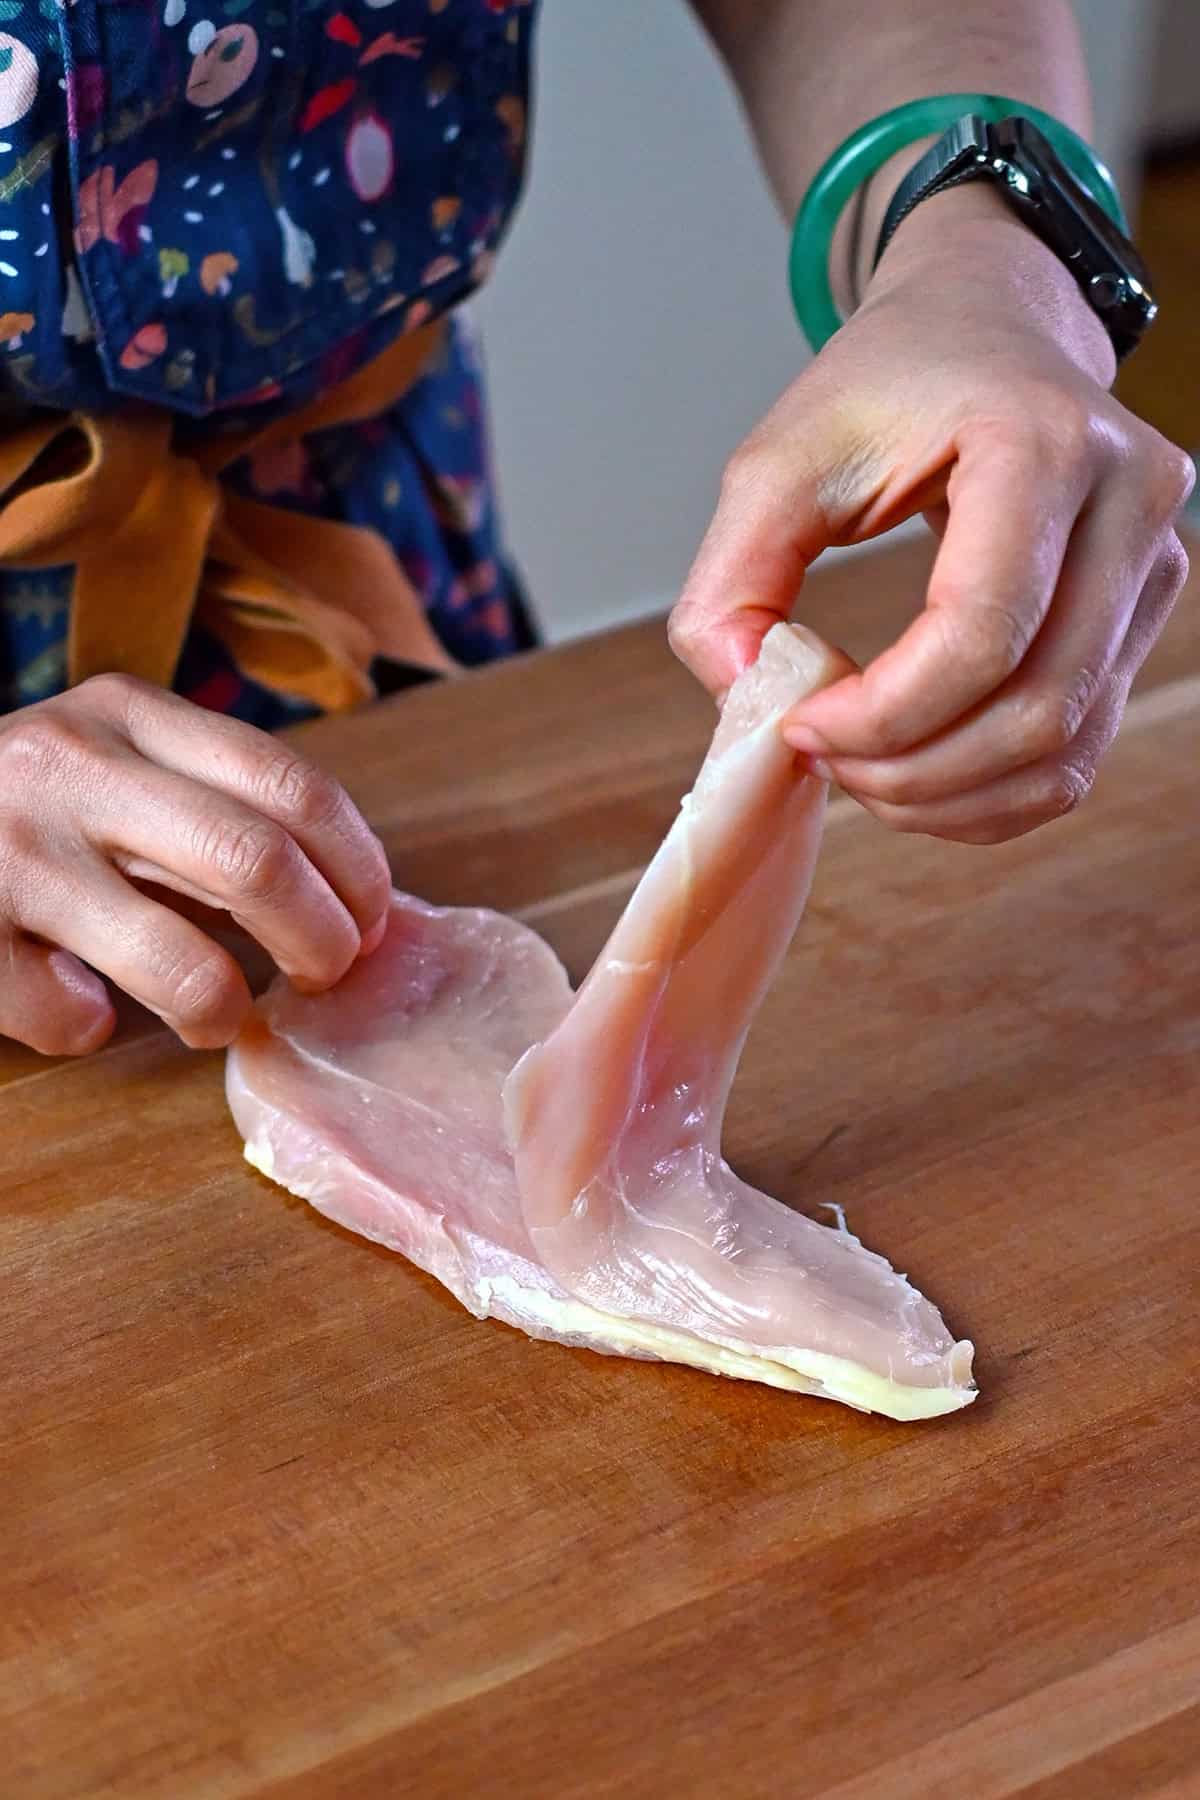
If the breast is especially large or uneven, you may need to make an additional cut so all the pieces are roughly the same thickness.
Once the cutlets are separated, lightly pound them with a meat pounder, small cast iron skillet, or rolling pin until they’re uniformly thin.
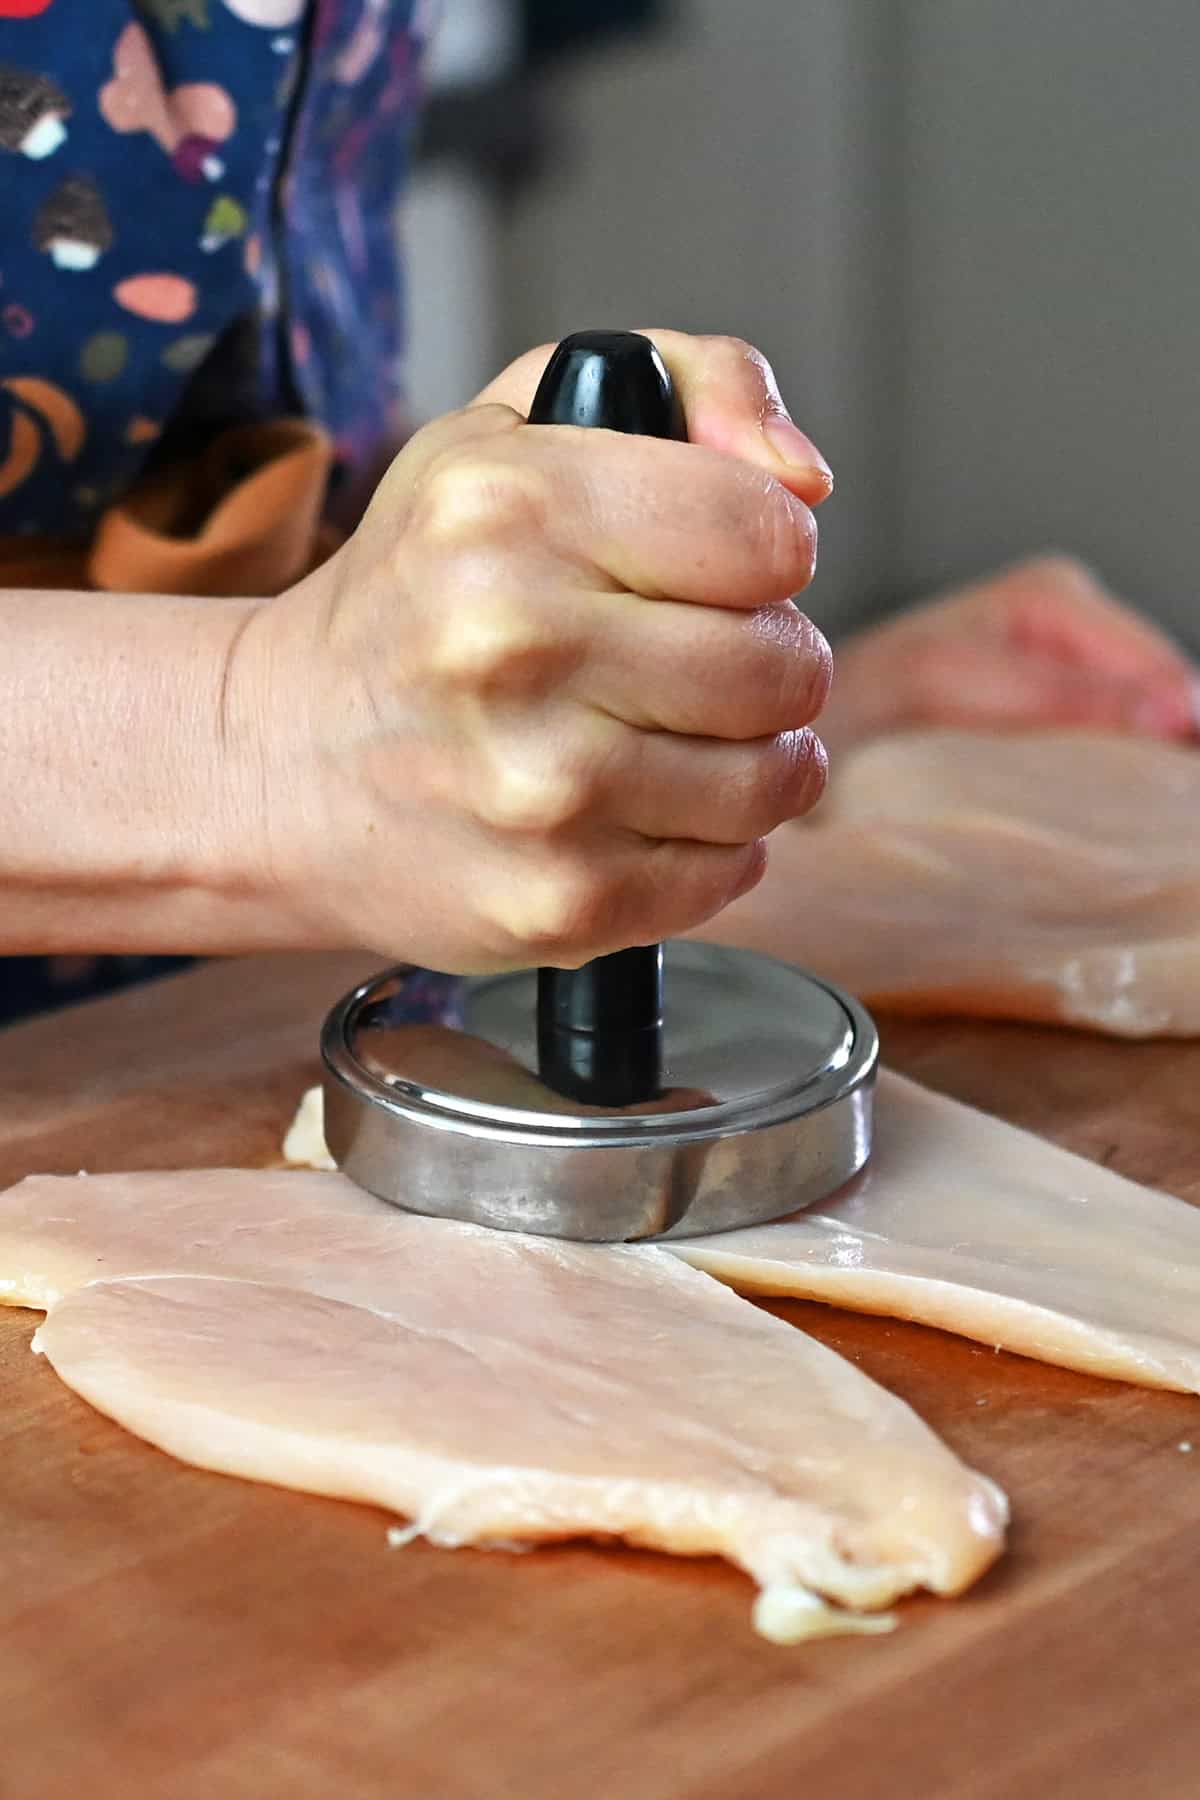
Even thickness is the key to juicy, evenly cooked chicken breast.
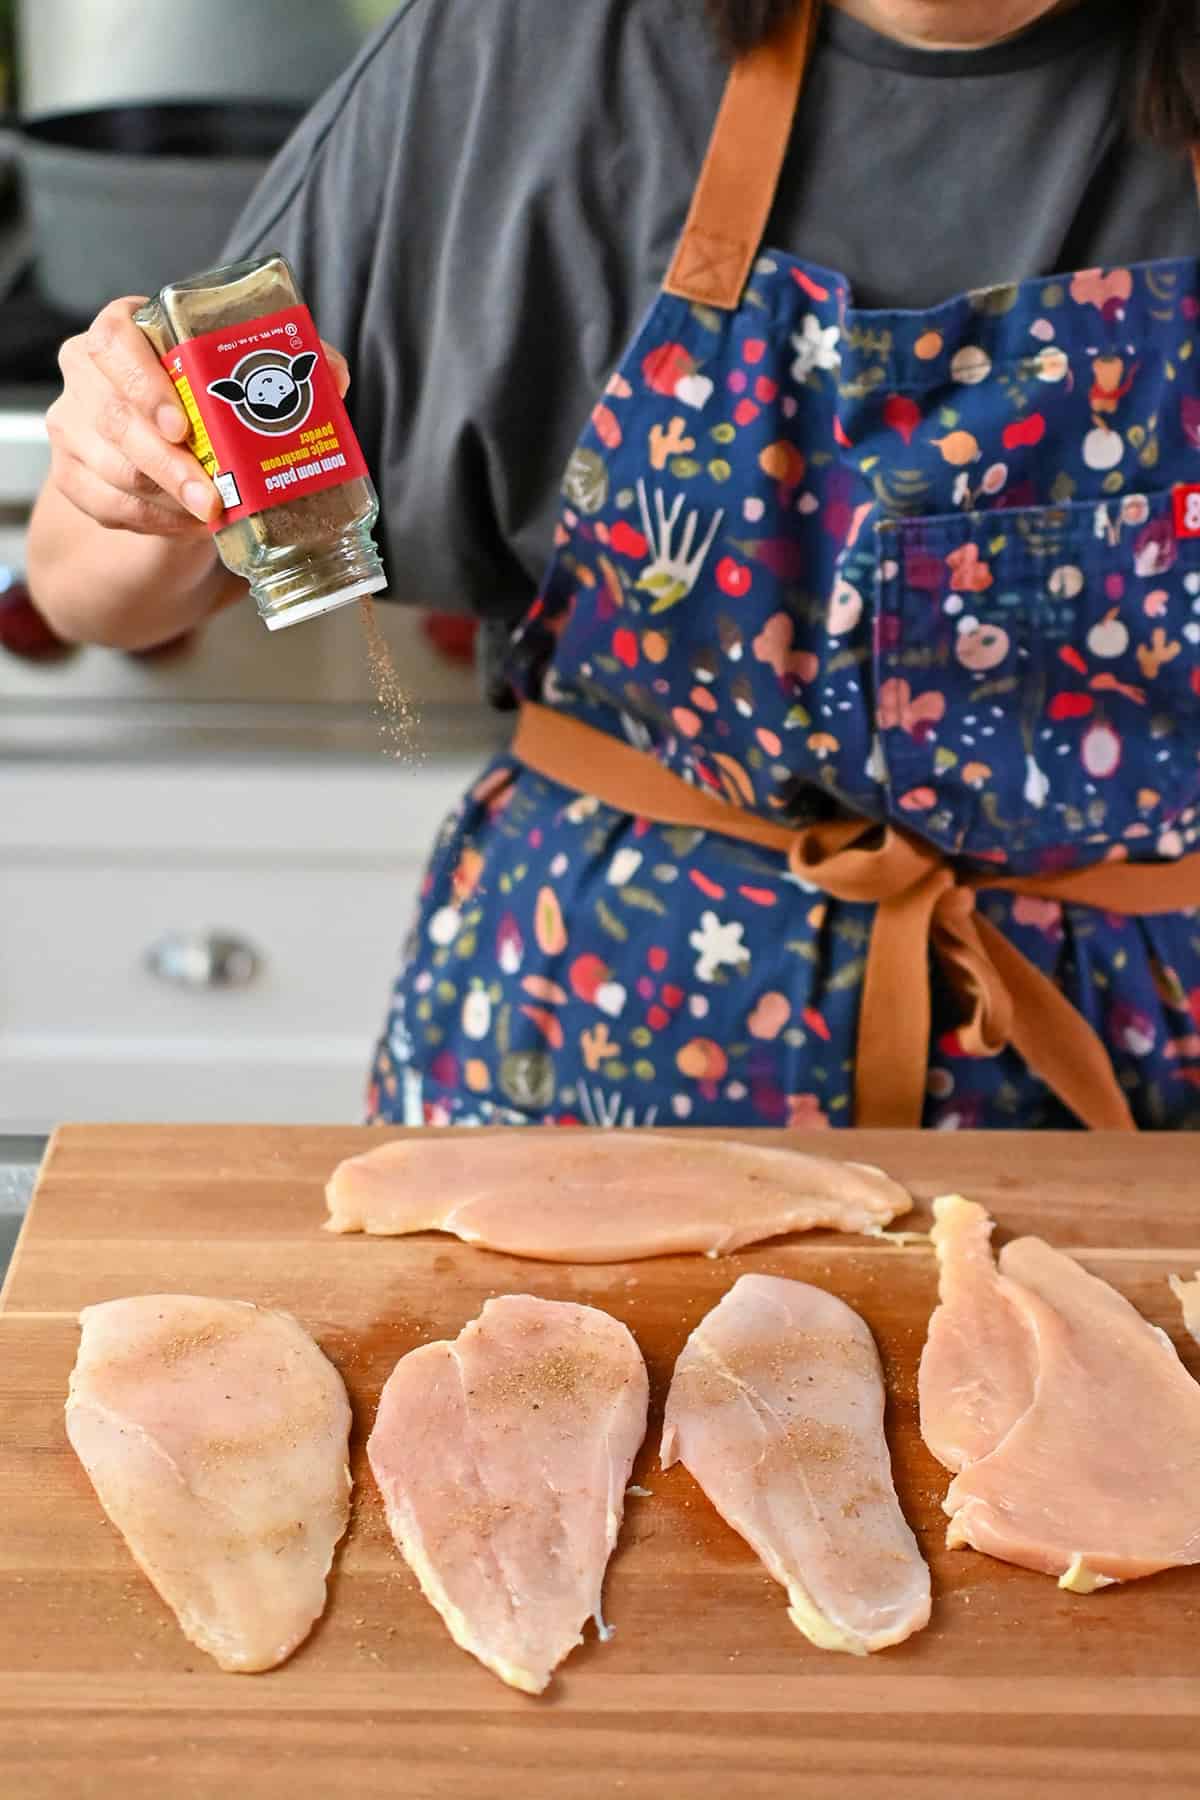
Season generously
I keep it simple and use one of my Nom Nom Paleo spice blends, but you can use whatever seasoning you love. Thin chicken cutlets need flavor, so don’t be shy.
For the most even coverage, sprinkle the seasoning from several inches above the chicken instead of dumping it on right next to the meat. Seasoning from up high helps the salt blend distribute more uniformly so you don’t end up with random overly salty spots. Then, flip the cutlets and season the other side, too.
The mayo trick (don’t skip!)
Instead of oil, I brush a very thin layer of mayonnaise on both sides of the chicken. (I use this mini silicone spatula as my “brush” because it adds a thin coating very evenly and cleans up easier than a brush filled with mayonnaise.)
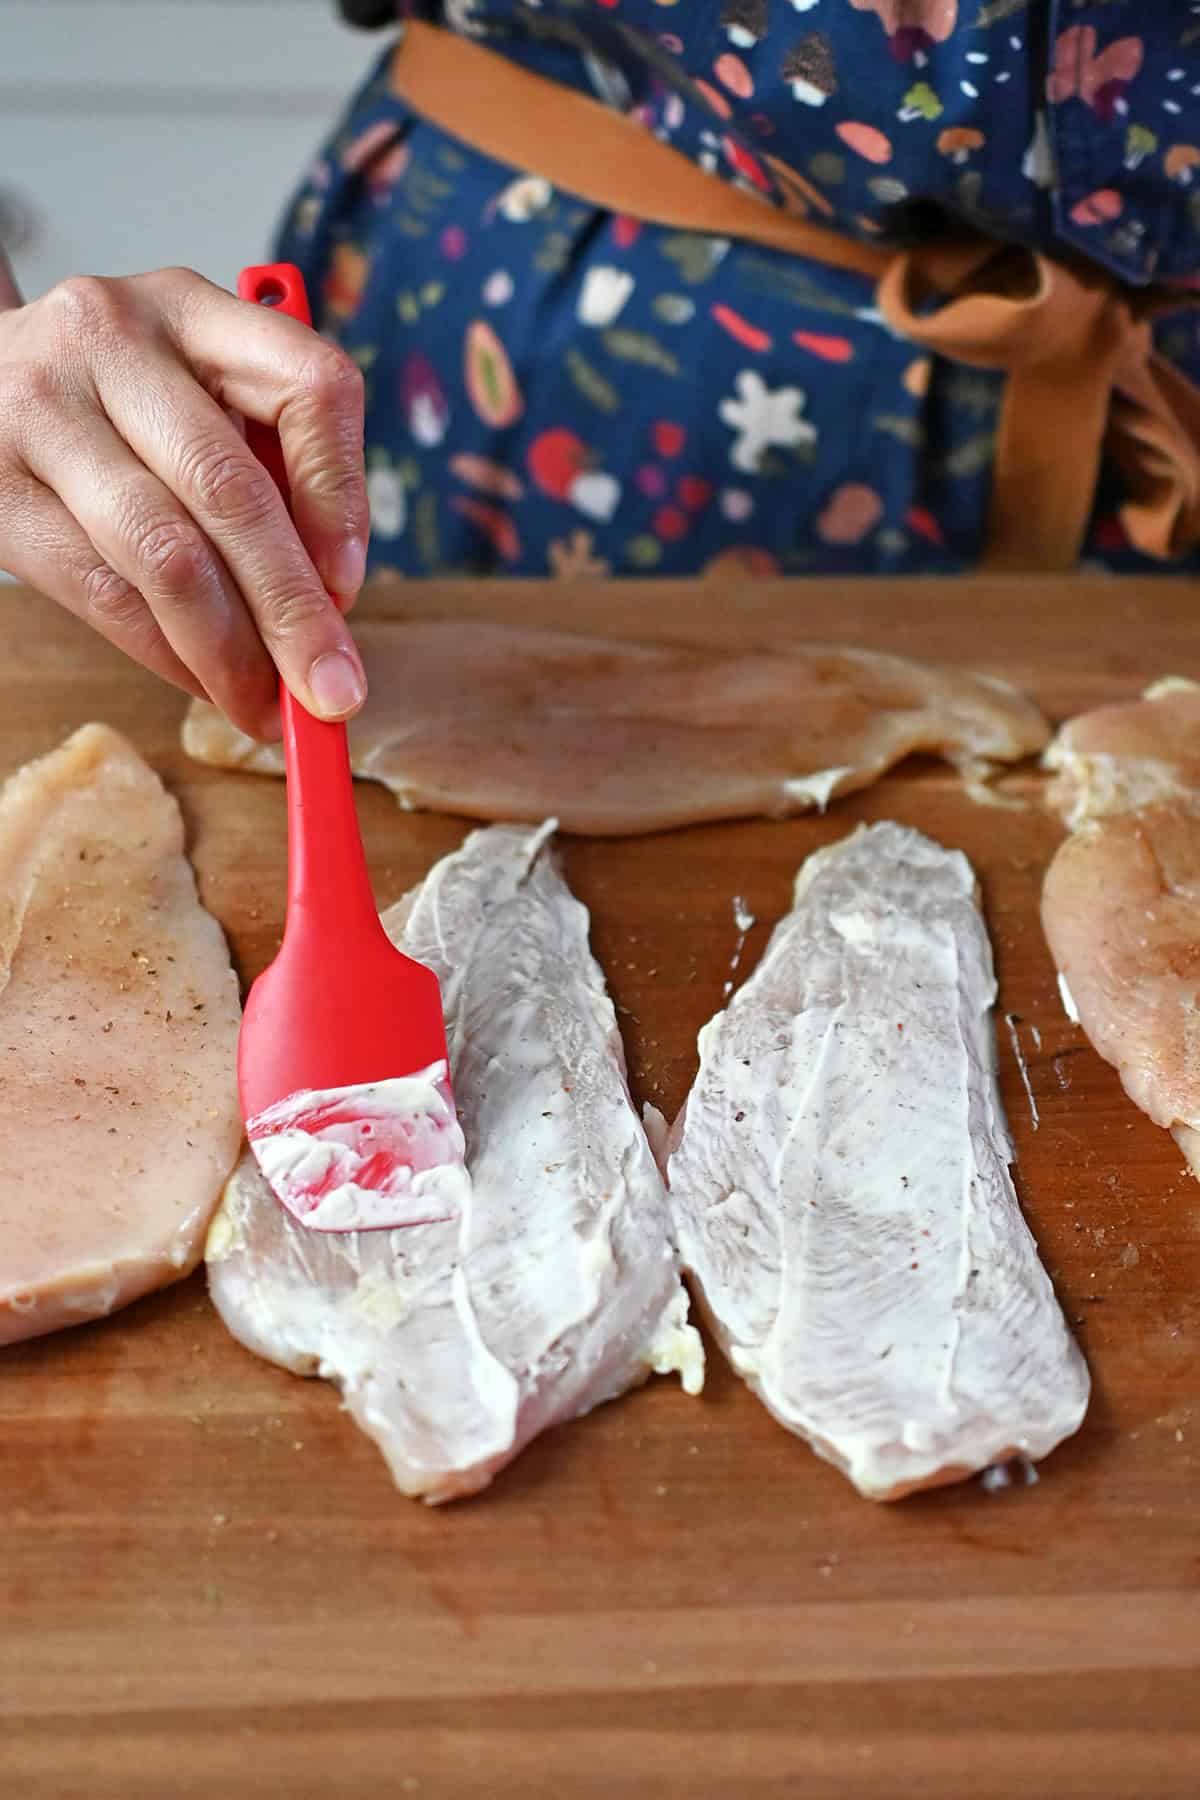
Mayo does a few important things:
- it helps the chicken brown beautifully
- it protects the meat from drying out
- it keeps the seasoning from falling off when the chicken hits the pan
You won’t taste the mayo. I promise.
If this technique sounds familiar, it’s similar to what I do in my Pesto Chicken, where mayo helps keep the thin chicken cutlets juicy and evenly coated with flavor. The difference here is that this version is perfect for nights when you don’t have pesto on hand and just want delicious chicken using pantry staples.
This approach was originally inspired by J. Kenji López-Alt, whose work made me rethink how a thin coating of mayonnaise can improve browning and help lean proteins stay juicy.
If mayonnaise isn’t your thing, you can skip it, but it’s what makes this method especially forgiving and consistent.
A hot pan for best results
A heavy-bottomed 12-inch skillet works best for this method because it retains heat well and helps the chicken brown evenly.
You can use:
- stainless steel
- cast iron
- enameled cast iron
If you’re using stainless steel, make sure the pan is properly preheated first. A tiny splash of water tossed into the skillet should form little balls that glide around the surface instead of instantly evaporating.
A non-stick skillet will also work, but the chicken won’t brown quite as well.
There’s no need to add extra oil to the pan because the mayonnaise already contains enough fat to prevent sticking and encourage browning.
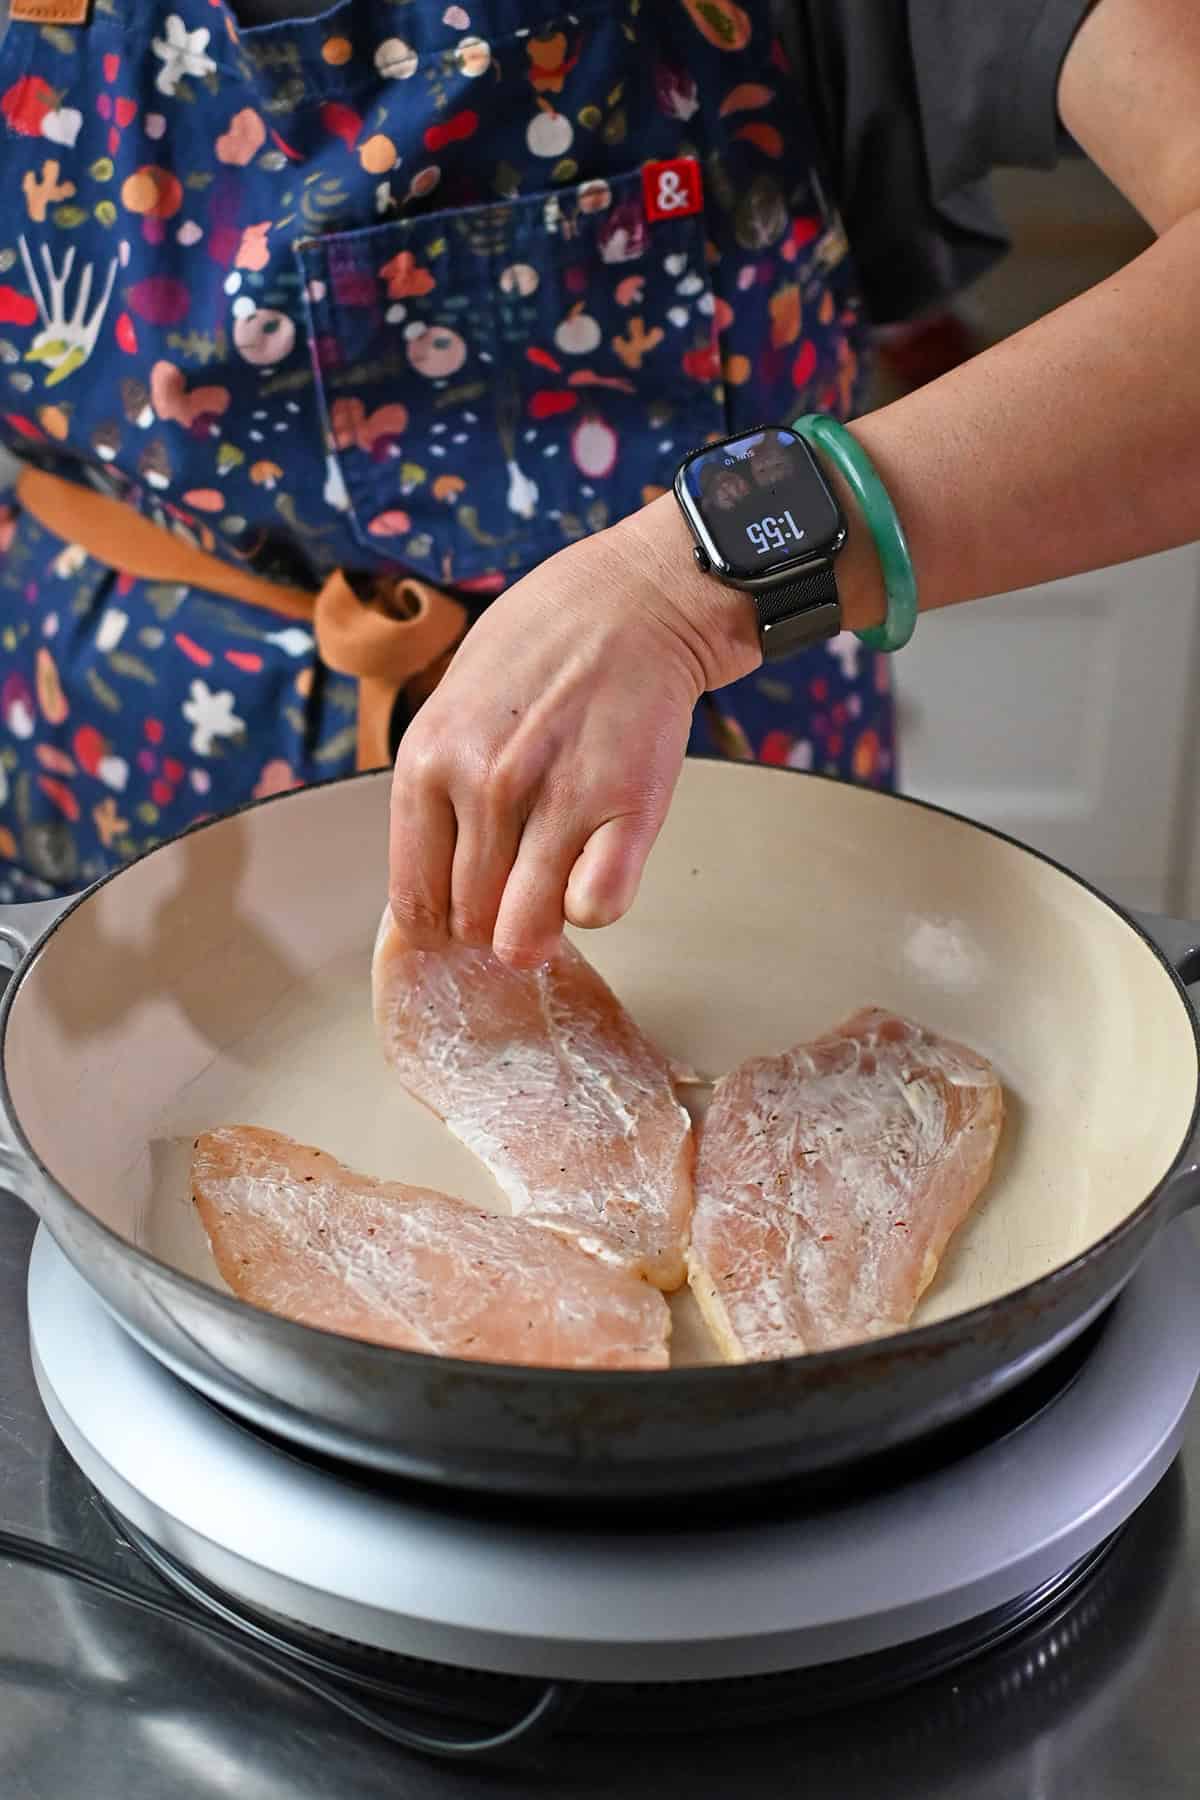
Once the skillet is hot, place the chicken cutlets in a single layer and leave them undisturbed for about 90 seconds so a nice crust can develop and the breast will release easily from the pan.
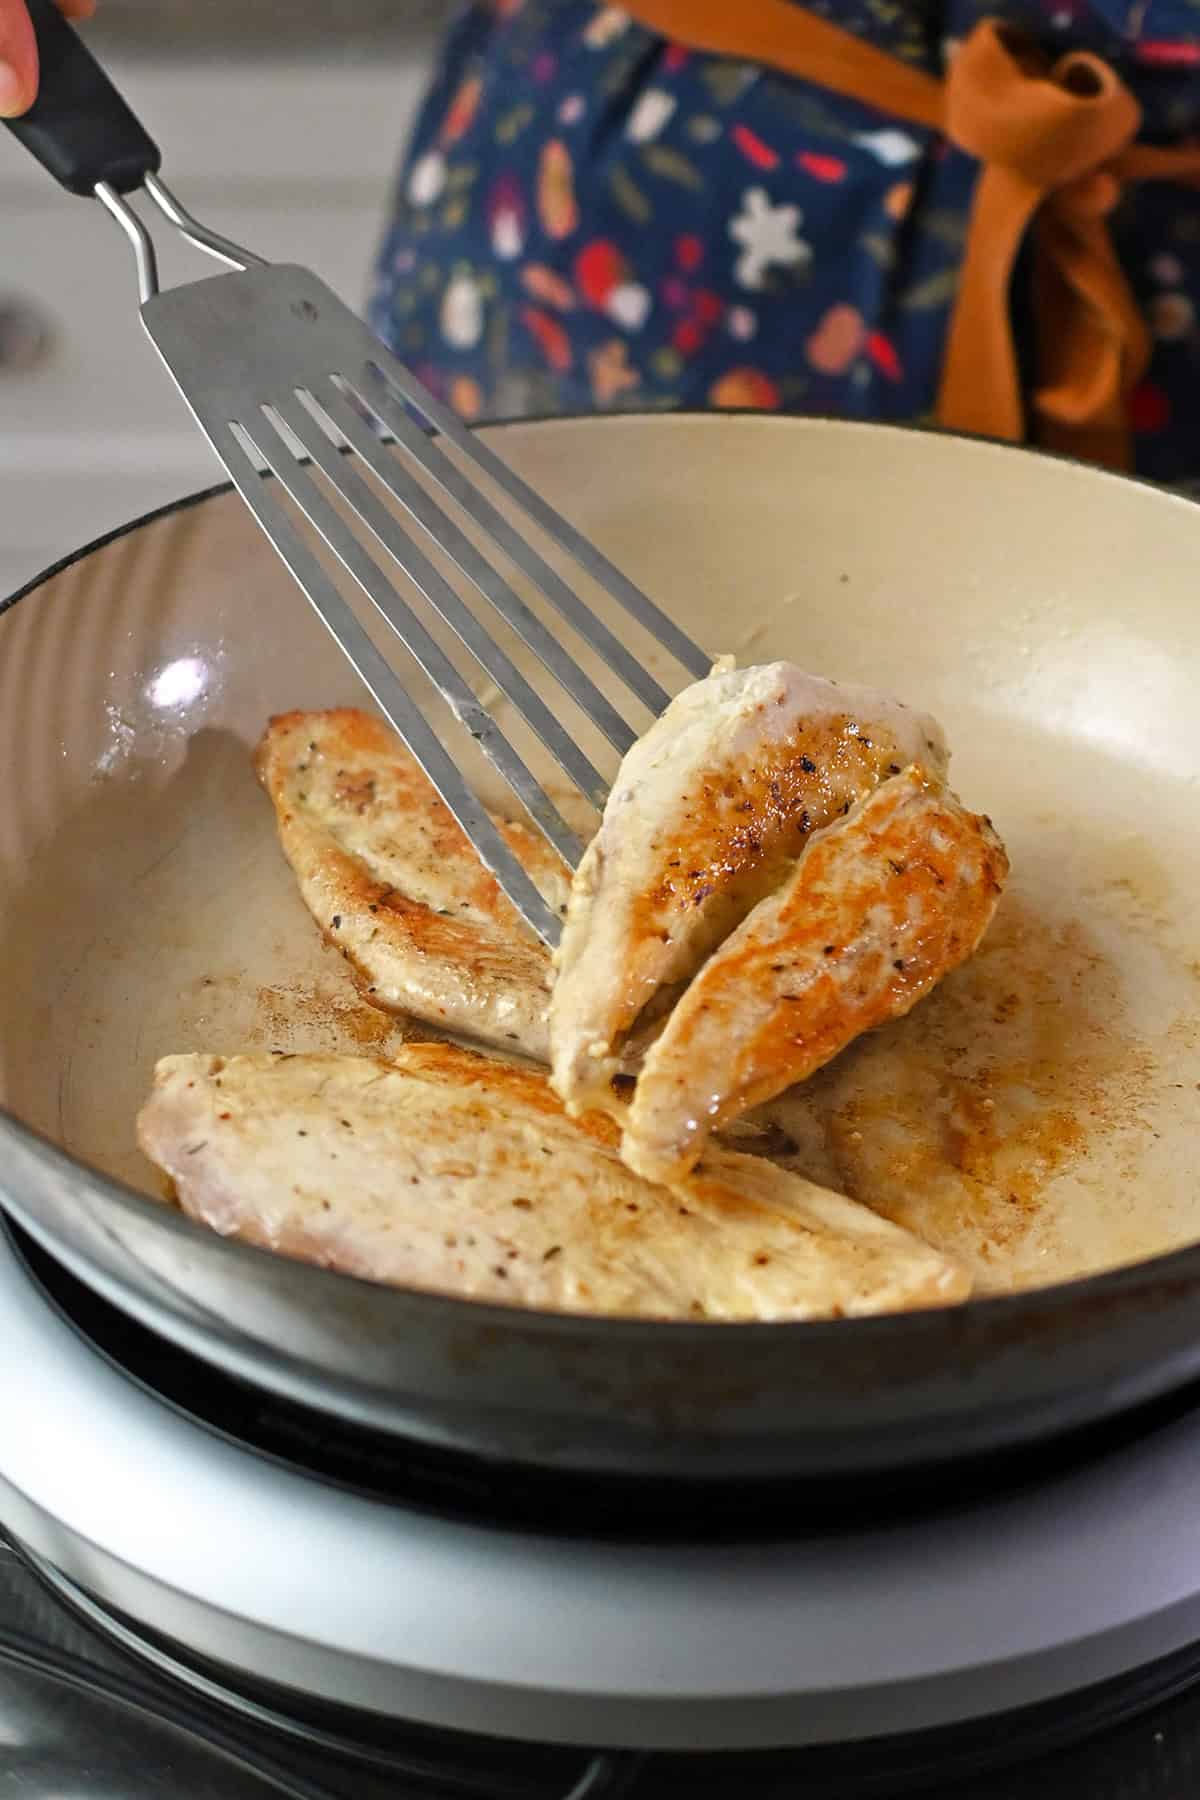
Flip the chicken and cook the second side for another 90 seconds. Then, keep flipping the chicken every 30 seconds or until nicely browned and the internal temp reaches about 150°F in the center. (This happens sooner than you think!)
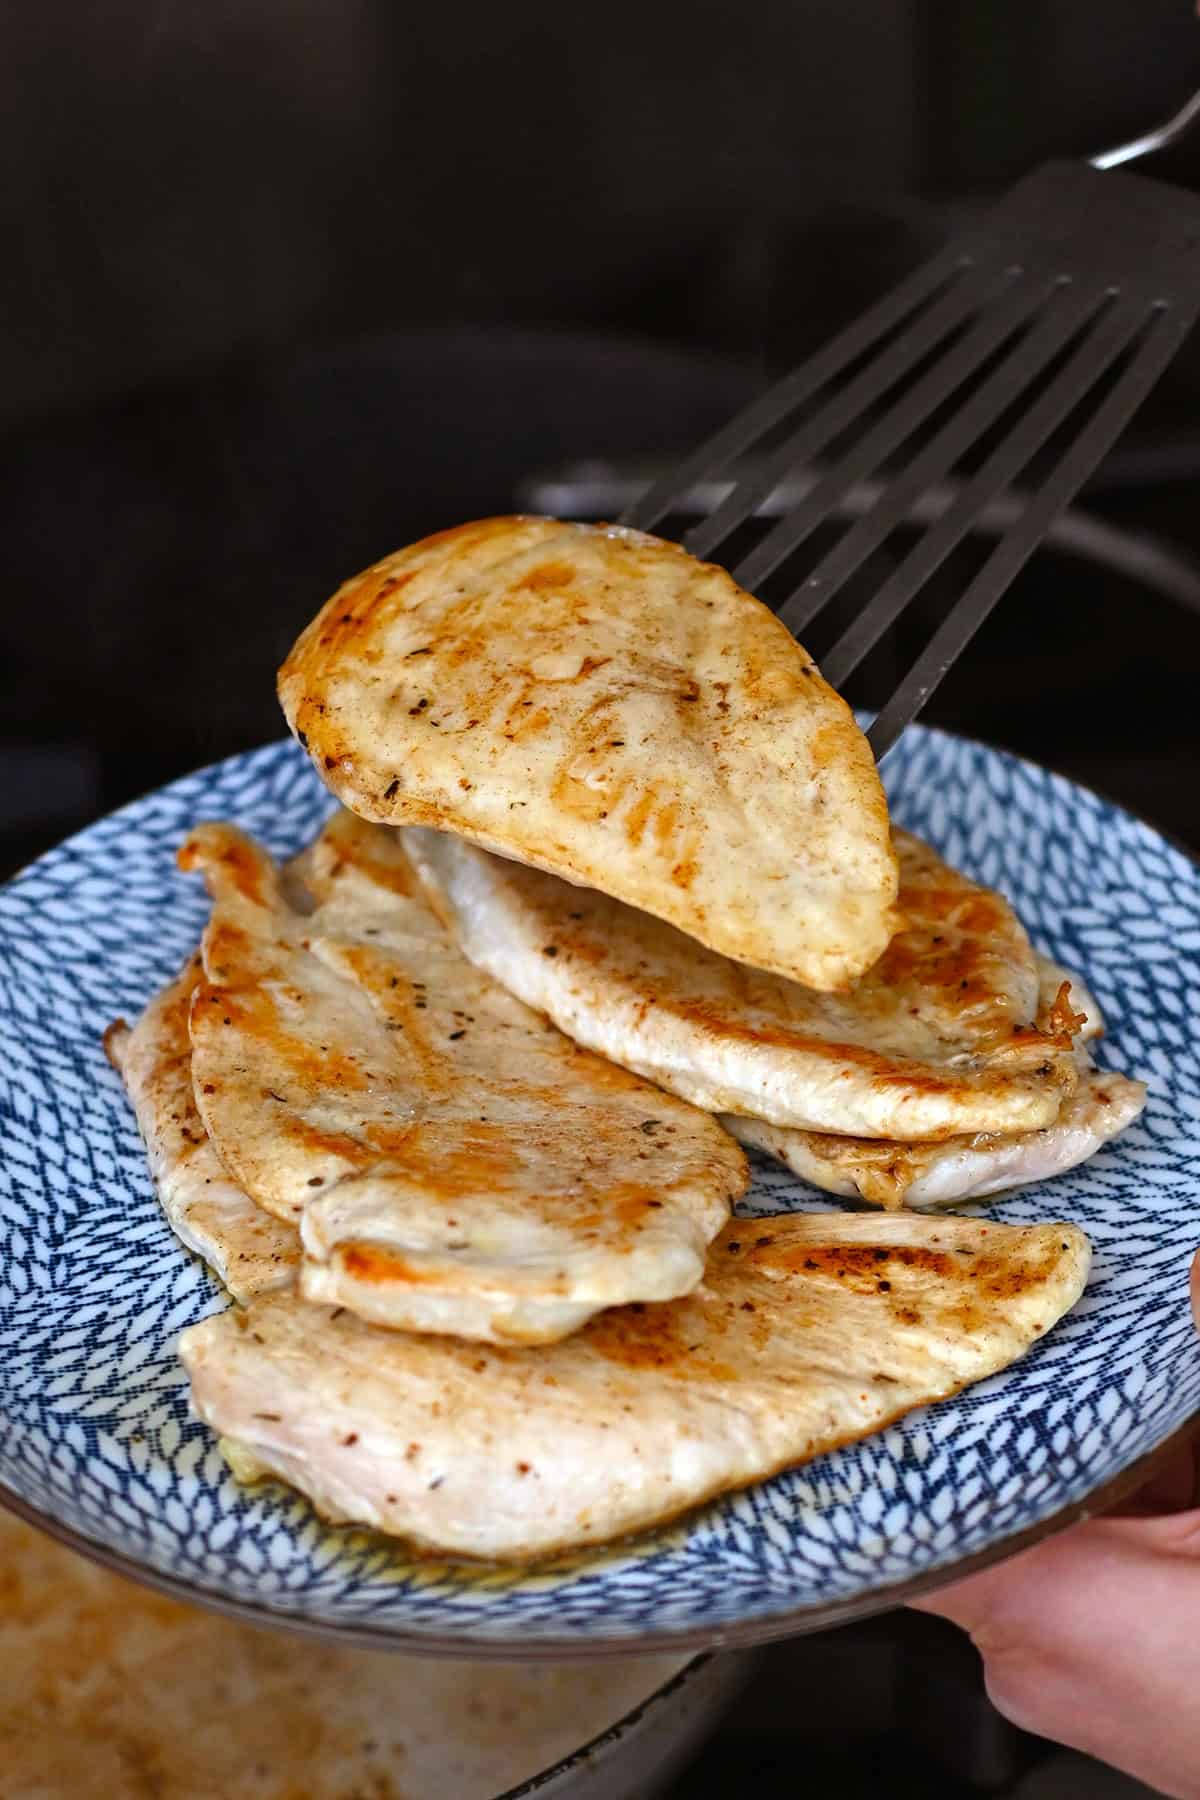
Take it off early and let it rest
A lot of food safety references say chicken needs to hit 165°F, and technically, that’s the temperature where poultry is considered safe instantly. But for lean chicken breast, 165°F is also where things can start turning dry and chalky fast.
The key is that food safety is about both temperature and time. Chicken held at 150°F for about 3 minutes, or 155°F for about 50 seconds, can achieve a similar safety result because the heat has enough time to kill harmful bacteria.
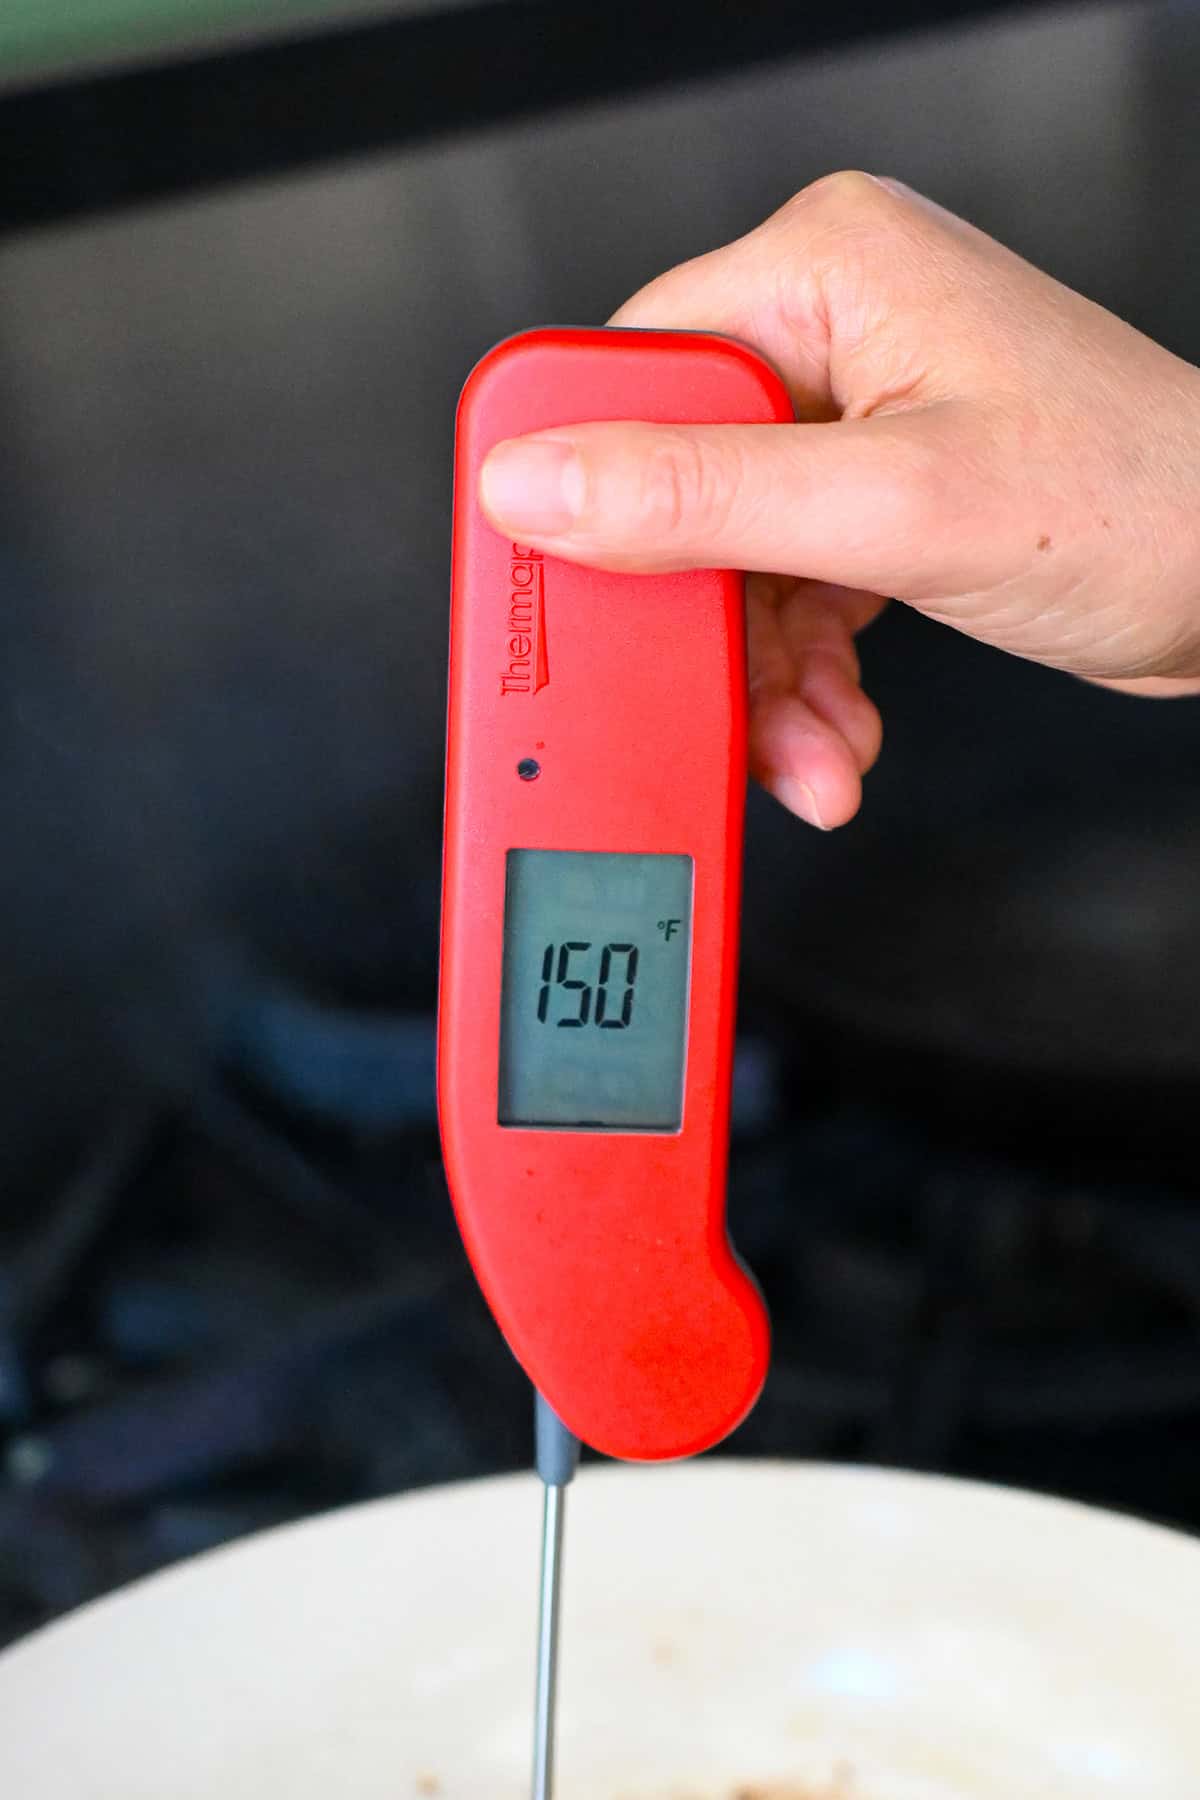
That’s why I pull these thin chicken cutlets when the thickest part reaches 150–155°F, then let them rest for about 5 minutes. During that rest, carryover cooking continues, the juices settle, and the chicken stays juicy instead of turning into sawdust.
For the quickest and most accurate reading, I recommend using a Thermapen ONE and checking the middle part of the cutlet.
How to store leftover chicken breast
This cooked chicken breast is a meal-prep aficionado’s dream protein: versatile, easy to prep ahead, and delicious straight from the fridge so make sure you cook extra!
Let the chicken cool completely before transferring it to an airtight container.
You can store the cooked chicken breasts whole or slice and dice them ahead of time for easy meal prep. Stored properly in the fridge, the chicken will keep for up to 4 days.
While chicken breast naturally firms up a bit after chilling, this method still tastes great straight from the fridge. I toss it into soups, salads, and lettuce wraps, or just eat it as is for a quick protein-packed snack.
You can also freeze the cooked chicken for longer storage. Place cooled chicken in a freezer-safe container or bag and freeze for up to 3 months.
To thaw, transfer the frozen chicken to the fridge overnight. I also like packing frozen sliced chicken in lunchboxes in the morning because it’s usually thawed by lunchtime.
If you decide to reheat the chicken, warm it gently and avoid overheating it, or the chicken can become overcooked and dry—which totally defeats the whole point of this method!
Looking for more recipe ideas? Head on over to my Recipe Index. You’ll also find exclusive recipes in my cookbooks, Nom Nom Paleo: Food for Humans (Andrews McMeel Publishing 2013), Ready or Not! (Andrews McMeel Publishing 2017), and Nom Nom Paleo: Let’s Go! (Andrews McMeel Publishing 2022).
Quick Juicy Chicken Breast (The Mayo Method)
Equipment
- 1 Chef’s knife
- 1 12-inch skillet
- 1 small silicone spatula or brush
Ingredients
- 1½ pounds boneless skinless chicken breasts I like to use breasts that are 6 to 8 ounces each.
- your favorite Nom Nom Paleo Spice blend or Diamond Crystal kosher salt
- 2 tablespoons paleo mayonnaise or enough for a thin coating on the cutlets
Instructions
- Slice the chicken breasts horizontally into thin cutlets. Using a meat pounder or heavy and flat object, pound them so they’re even in thickness.
- Sprinkle both sides of the cutlets from up high with seasoning or Diamond Crystal kosher salt.
- Brush a very thin layer of mayonnaise on both sides of each cutlet. This helps the seasoning stick, promotes browning, and keeps the chicken juicy.
- Heat a heavy bottomed 12-inch skillet over medium-high heat until hot.
- Place the cutlets in a single layer in the skillet. Cook undisturbed for about 90 seconds per side. Continue flipping the chicken every 30–60 seconds, or until nicely browned and the thickest part reaches 150–155°F. This will happen sooner than you think so check with your meat thermometer!
- Remove the chicken from the pan and let it rest for about 5 minutes. Carryover cooking will finish the job. Serve warm or cool completely before storing.
Notes
- Thin, even cutlets are the key to fast cooking and juicy results.
- You won’t taste the mayonnaise. It simply acts as a protective layer and helps with browning.
- This chicken keeps well in the fridge and is perfect for meal prep, salads, bowls, or easy protein throughout the week.
Nutrition
Nutrition information is automatically calculated, so should only be used as an approximation.


So easy and delicious! I made this as soon as I saw this and it is just as fast and juciy as you said. THANK YOU MICHELLE!
I am planning to make this tomorrow night for dinner and I was curious if I could use boneless chicken thighs? it’s what I have on hand. Also, what are your favorite sides that go with this? Thanks, Michelle! I have been following you for years and all the recipes I’ve tried are delicious. I have no worries about this turning out!
Yes, you can definitely use boneless, skinless thighs but you’ll probably need to cook them longer and aim for an internal temp of about 170°F. There’s no need to cut the thighs into thinner cutlets, just pound them flat. You can serve the chicken with just about anything, like my Asian Chopped Salad: https://nomnompaleo.com/chopped-salad
Quick and easy ! Perfect for summer chicken salads!! Oh and so tasty,!! Definitely my go to way of cooking chicken breast! 👍
I’ve been following you and your recipes for so many years. I’m still getting better at cooking, but I so appreciate just how thorough you are in your instructions! Thank you for that and I can’t wait to try this recipe!
Incredible! Made this for the first time today and it’s so easy and delicious. This will definitely be added to my regular rotation thank you Michelle!
This is so easy and keeps the breasts moist. And it’s a great way to use the magic mushroom powder. I love the idea to make on Sunday, cut into pieces, and use for lunches throughout the week. It’s a relief to have it on hand. Thank you for this Michelle!